Insta360 setup
This chapter elaborates on the procedures for setting up the insta360 pro camera and connecting it to the HEIFU.
Note
The ROS heifu_ws must have the following packages updated: bev_uav_gcs_interface, bev_uav_gstreamer, sensor_query.
Mounting to the HEIFU
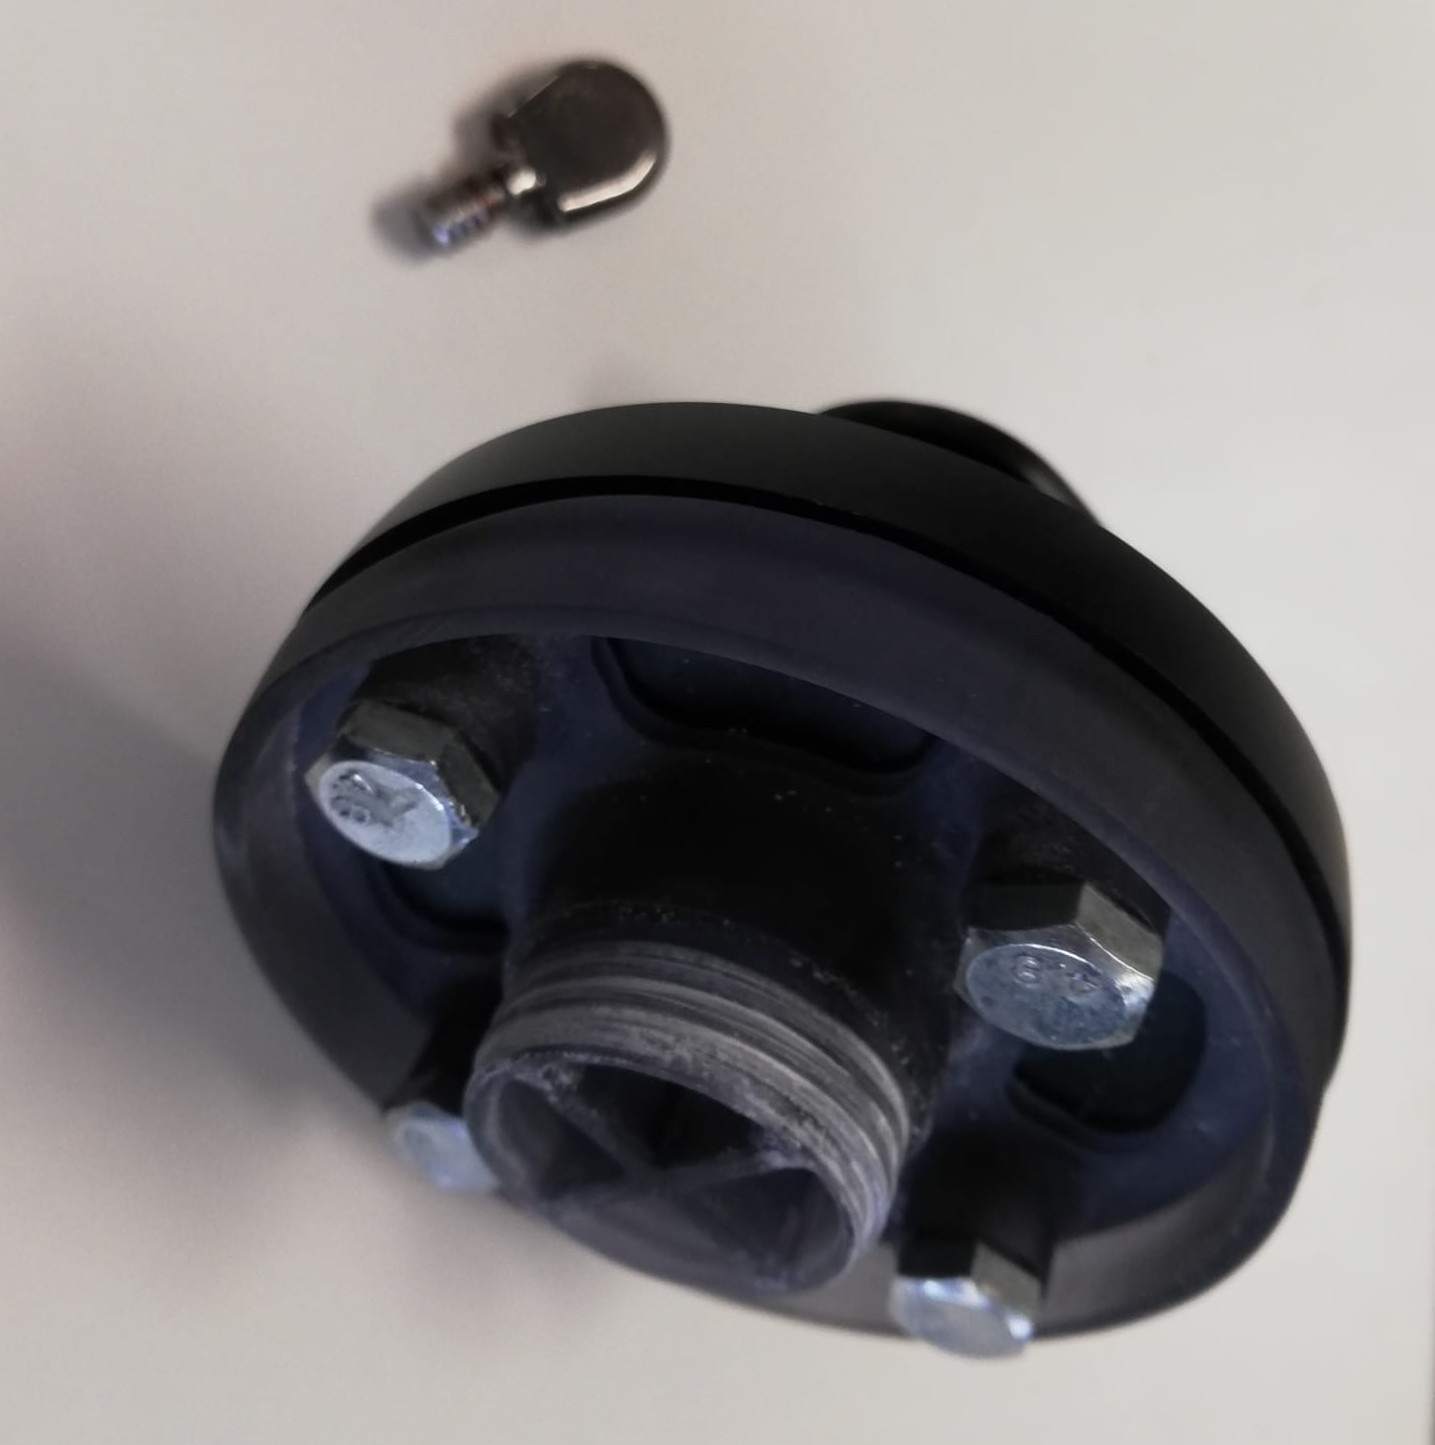
Insert and screw in one of the HEIFU’s add-on connectors to the rails under the battery.

Screw the insta360’s base to the HEIFU’s add-on connector.
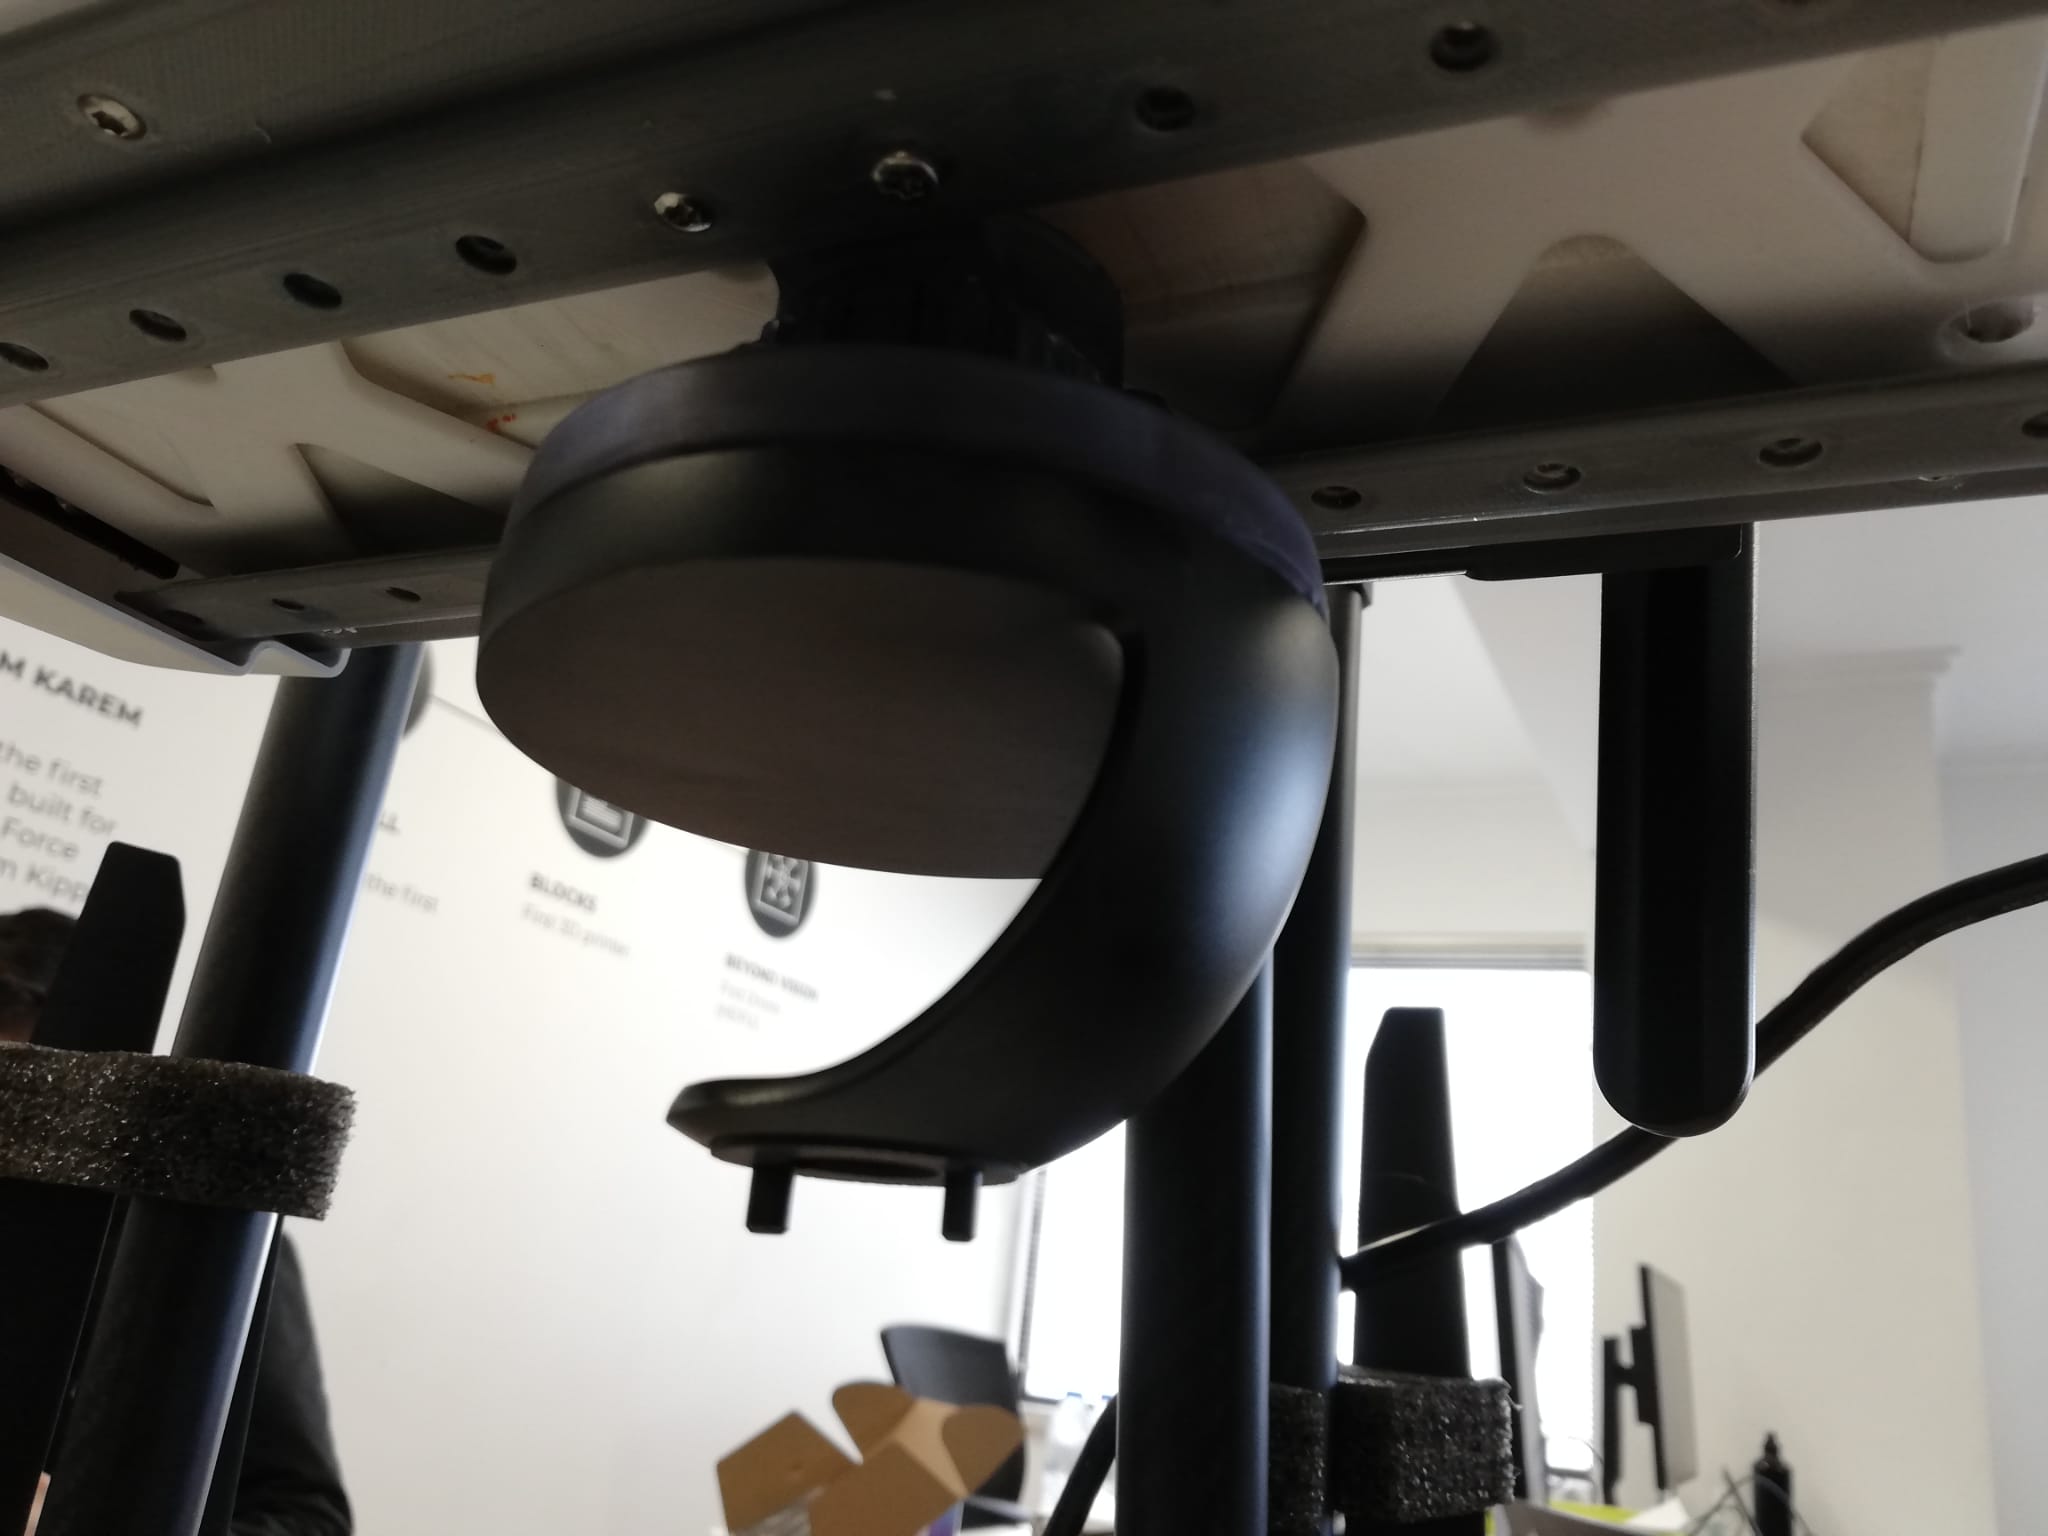
Insert the insta360 camera into the two pins pointing downwards and screw it to the base using the appropriate screw.
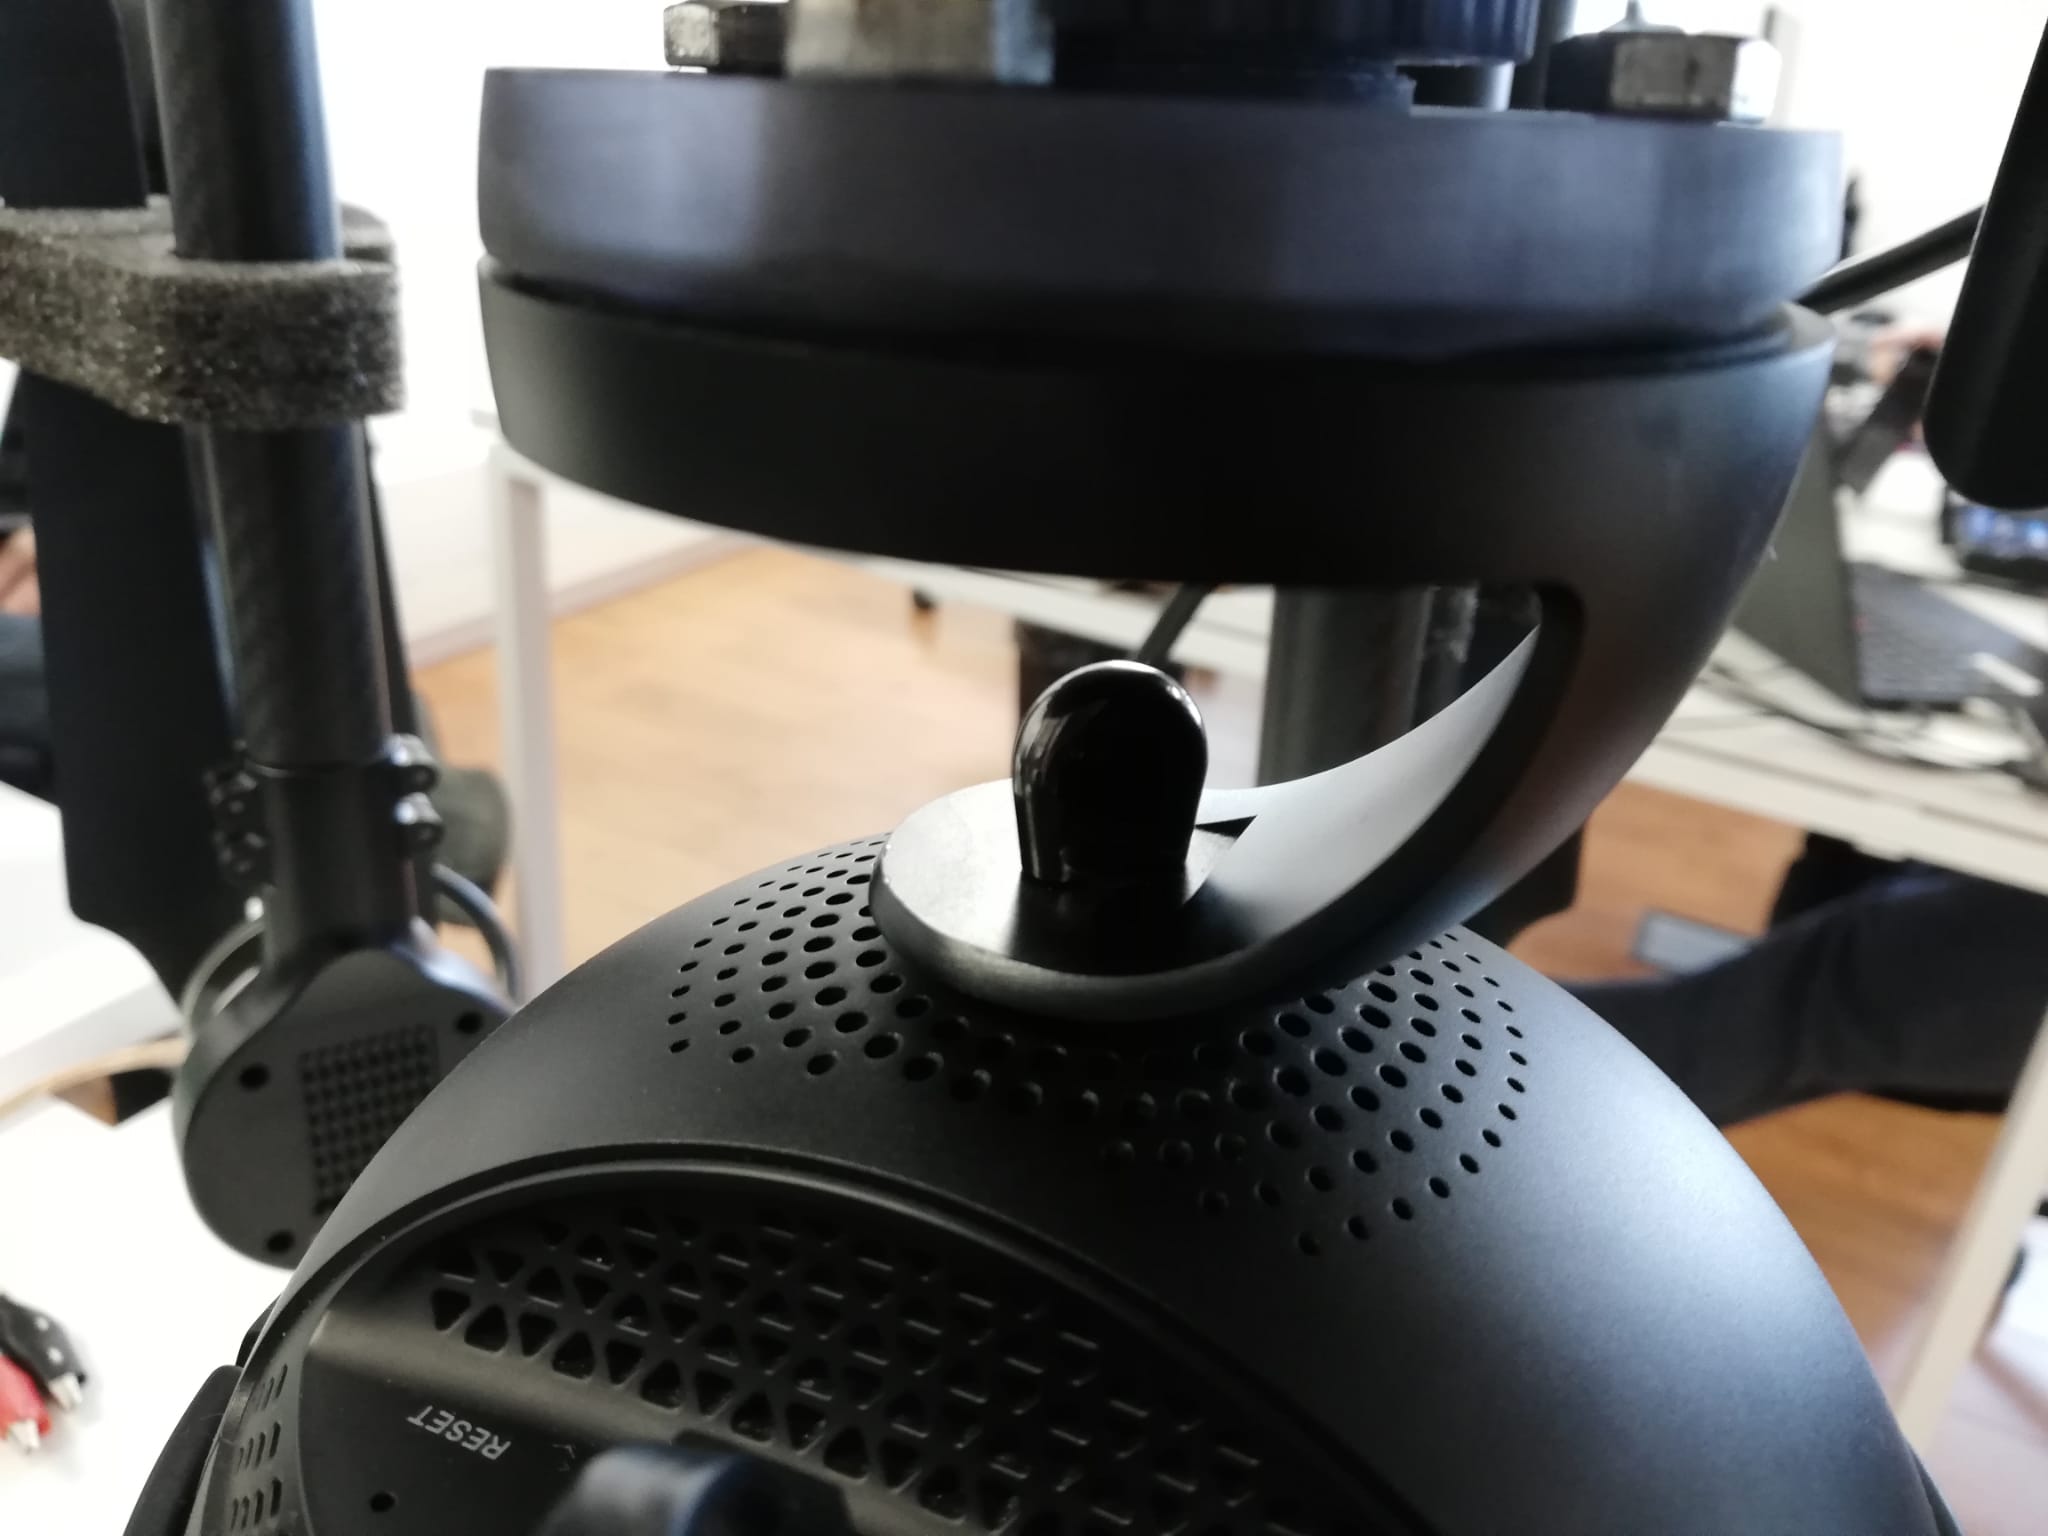
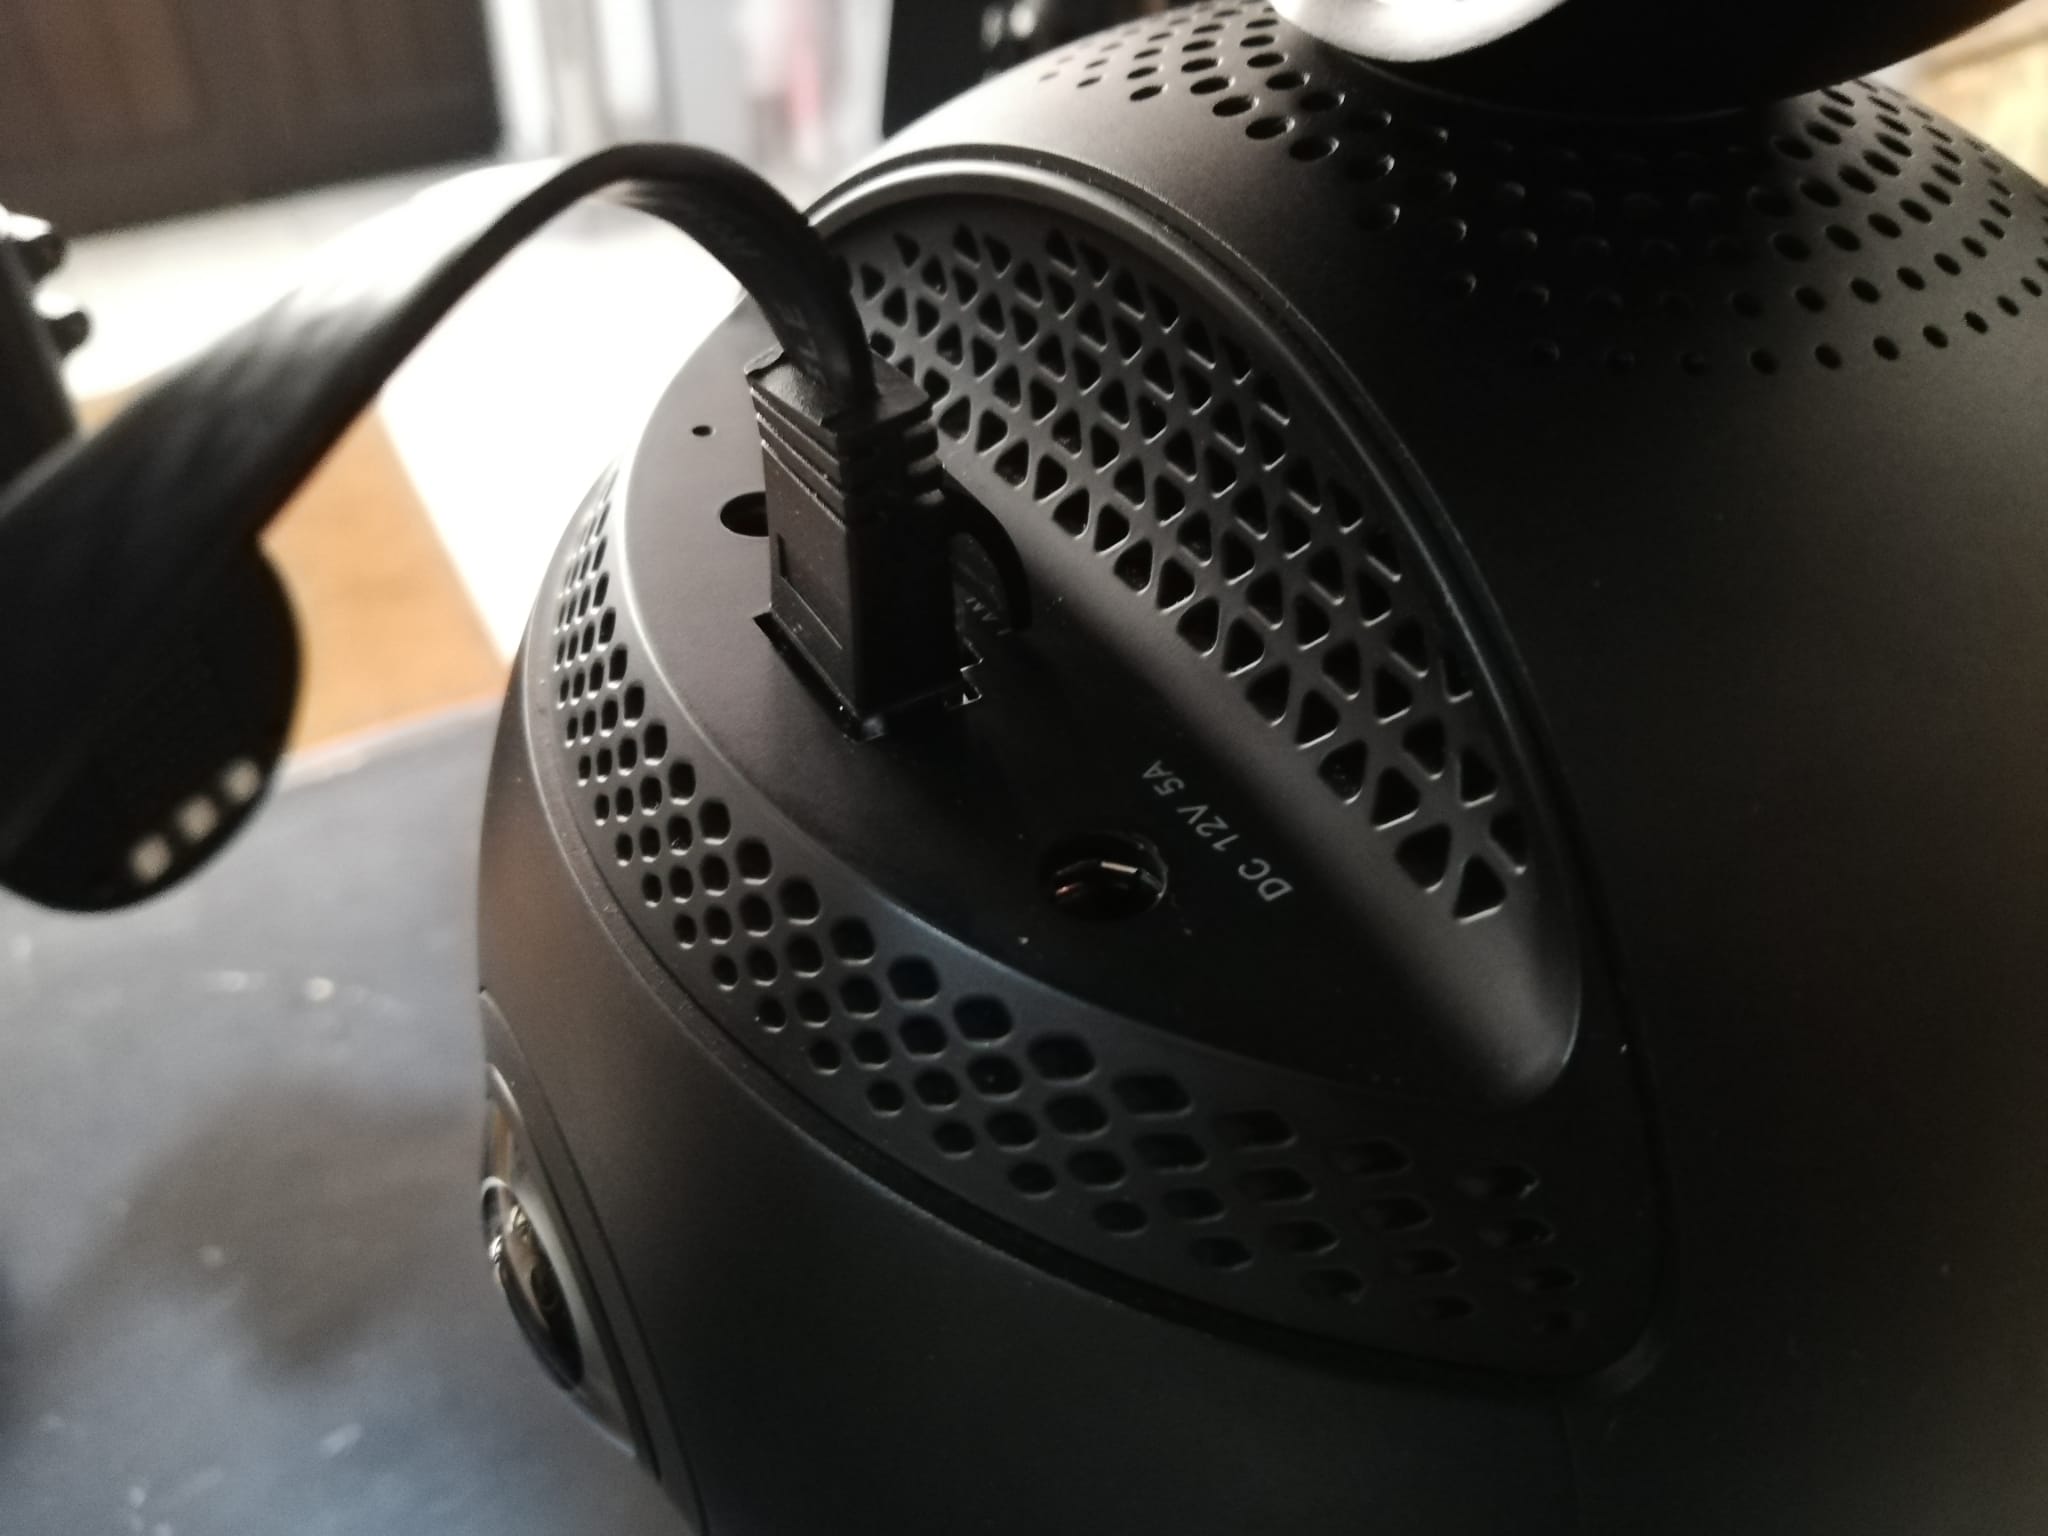
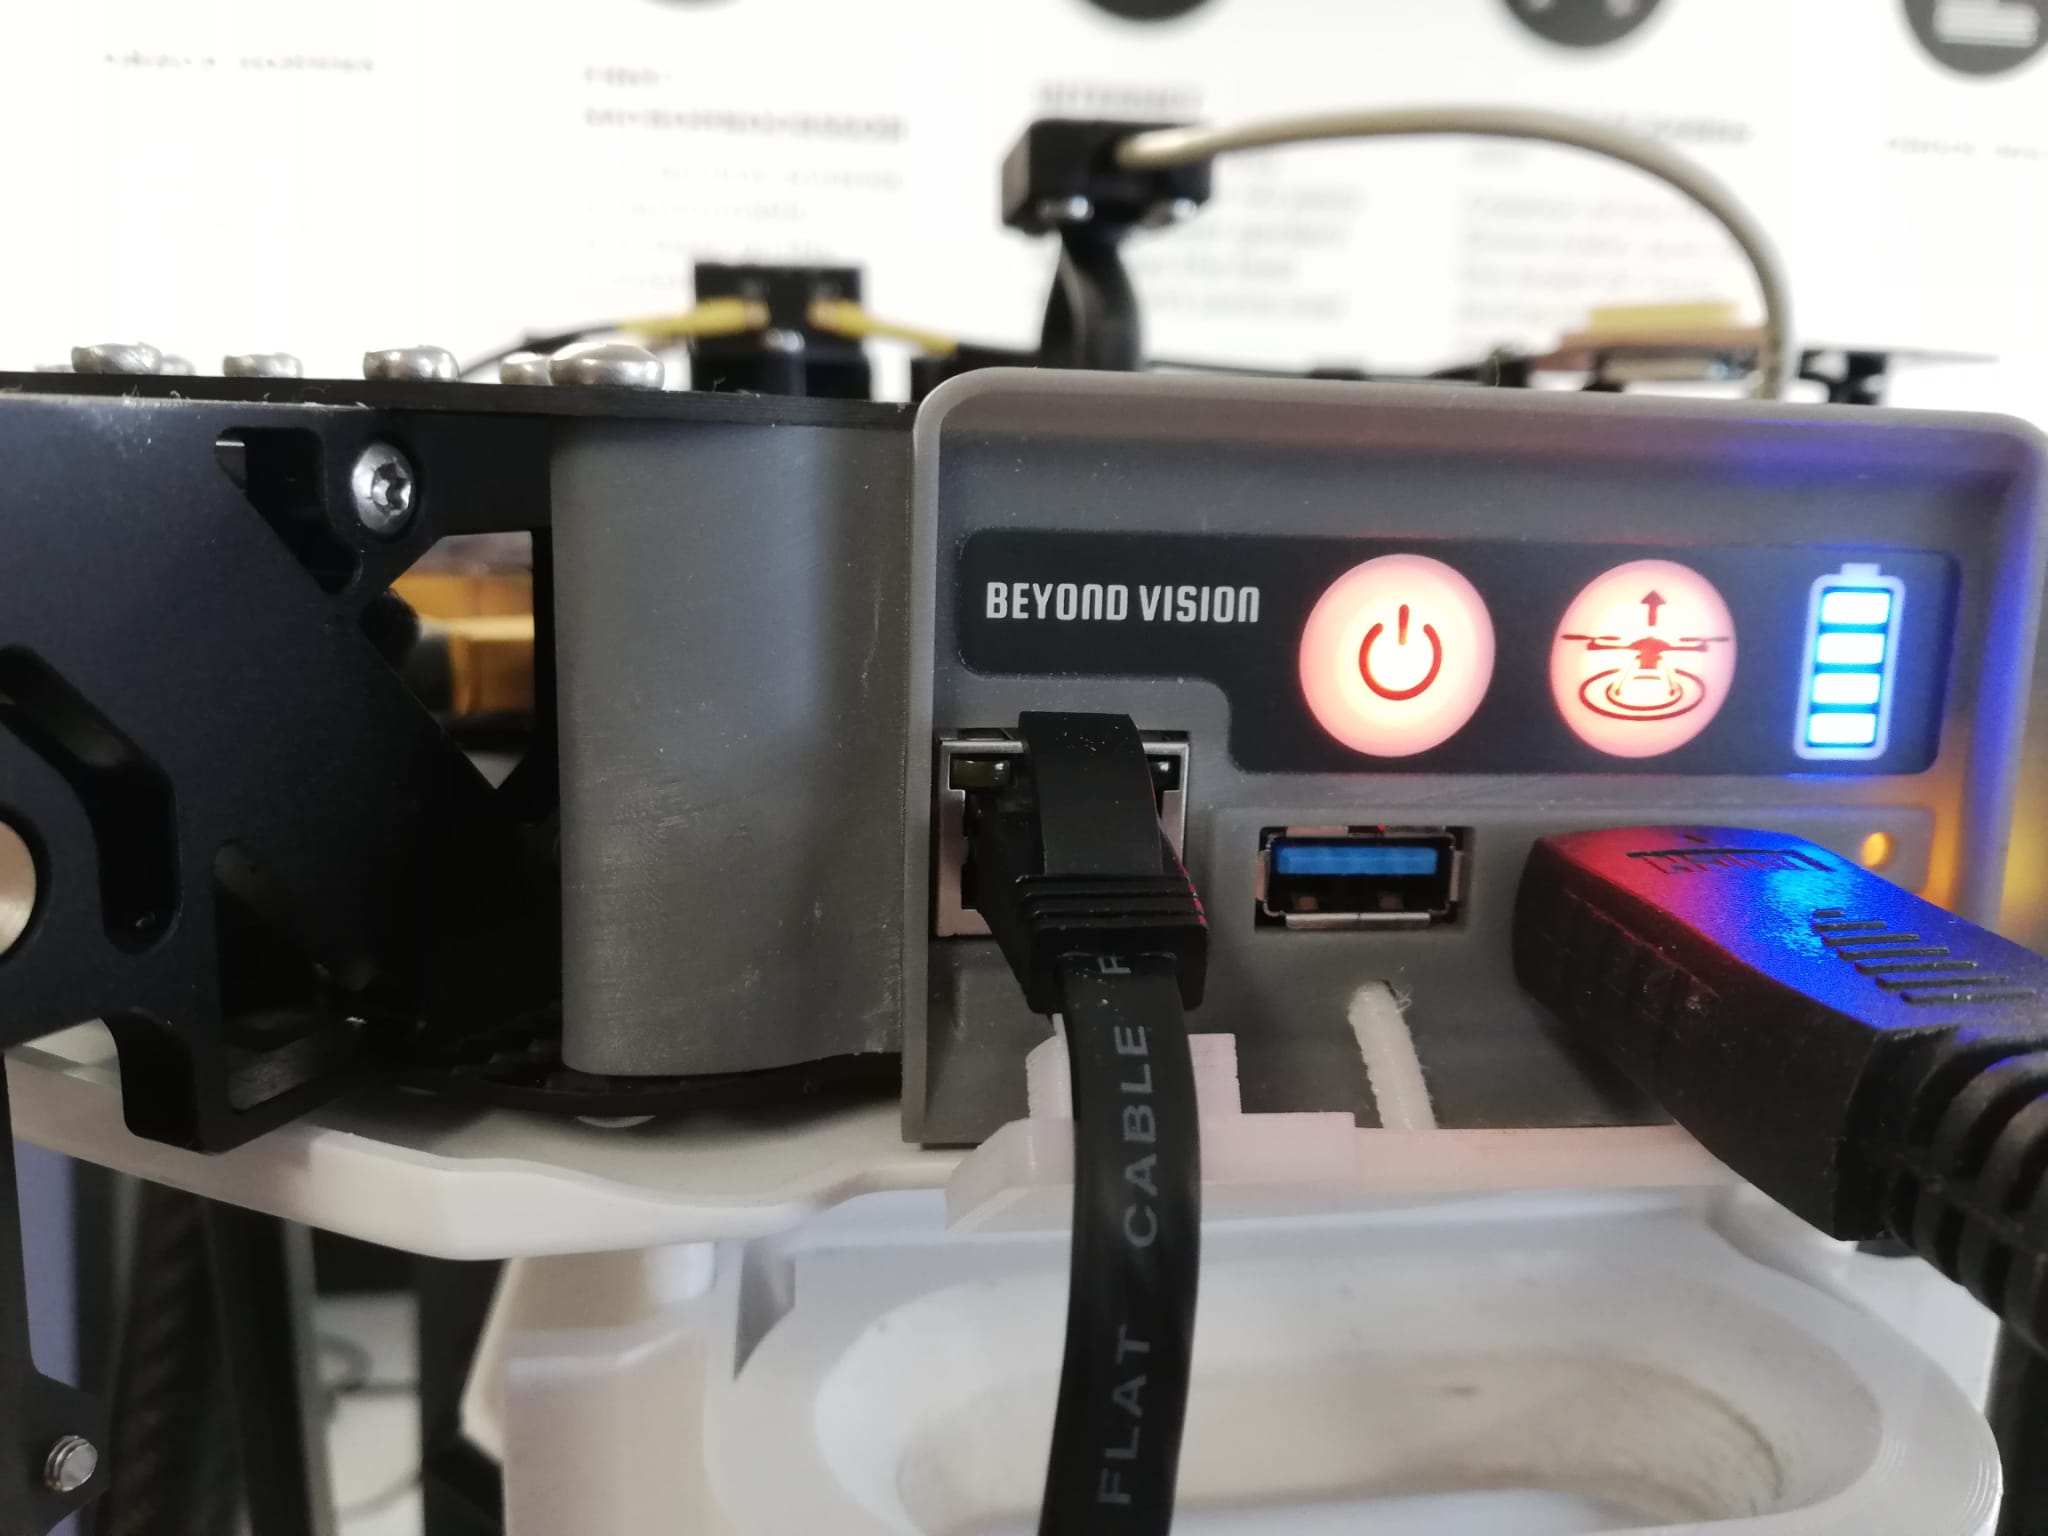
Connect the camera to the HEIFU through the ethernet cable.
Camera setup
Make sure that the HEIFU is turned OFF.
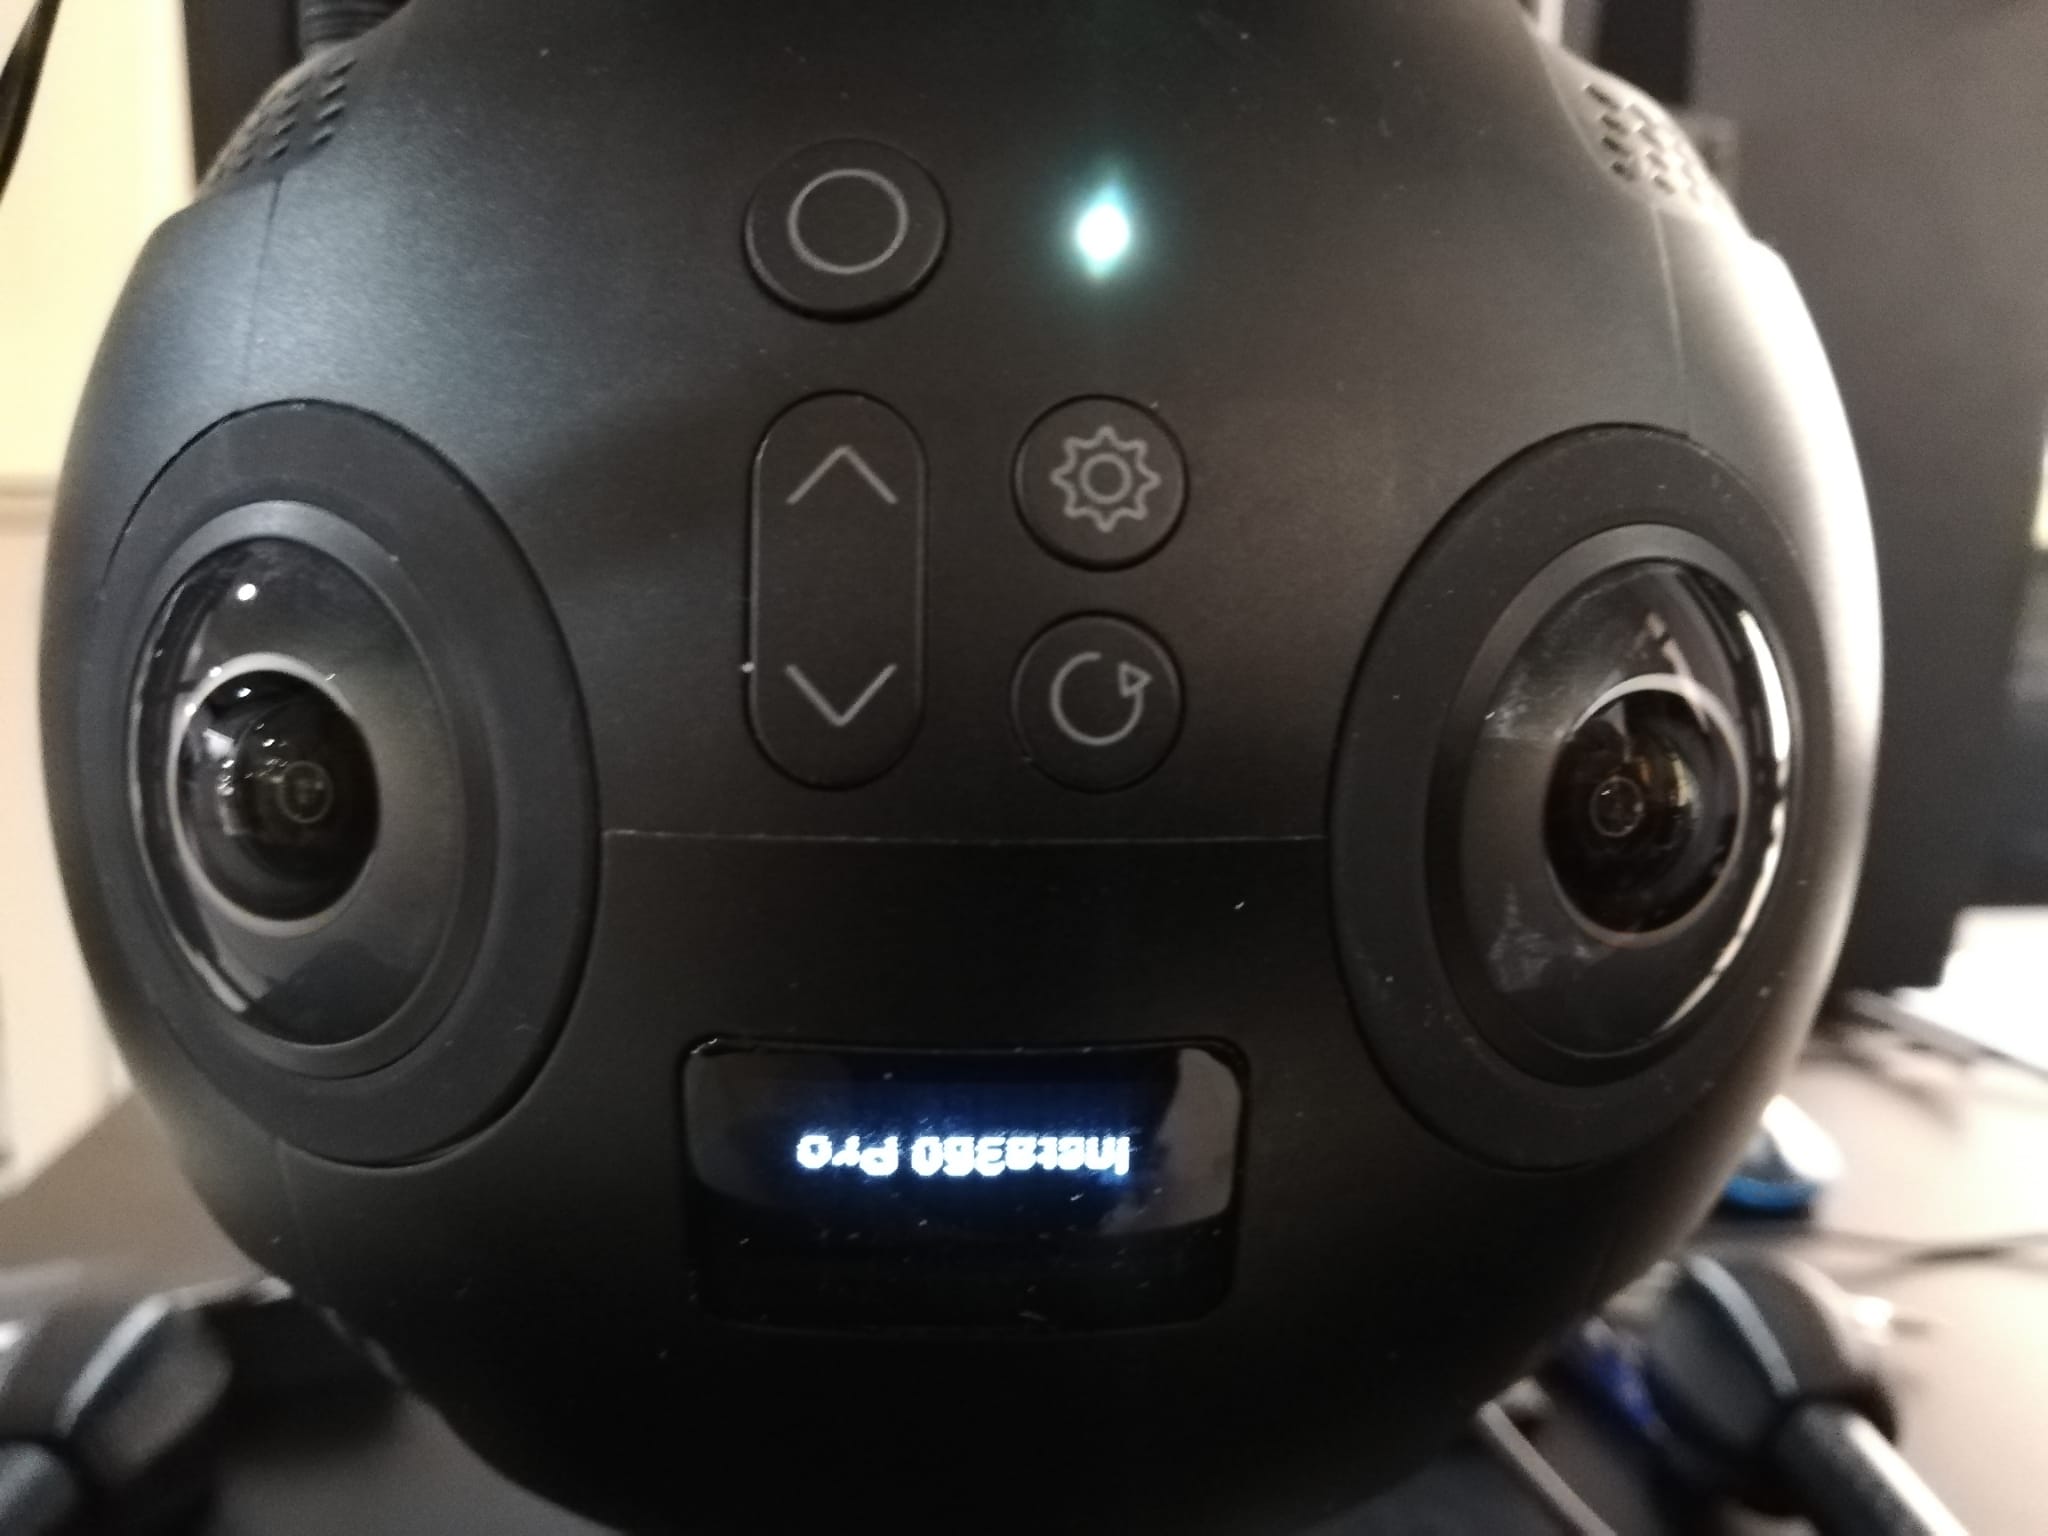
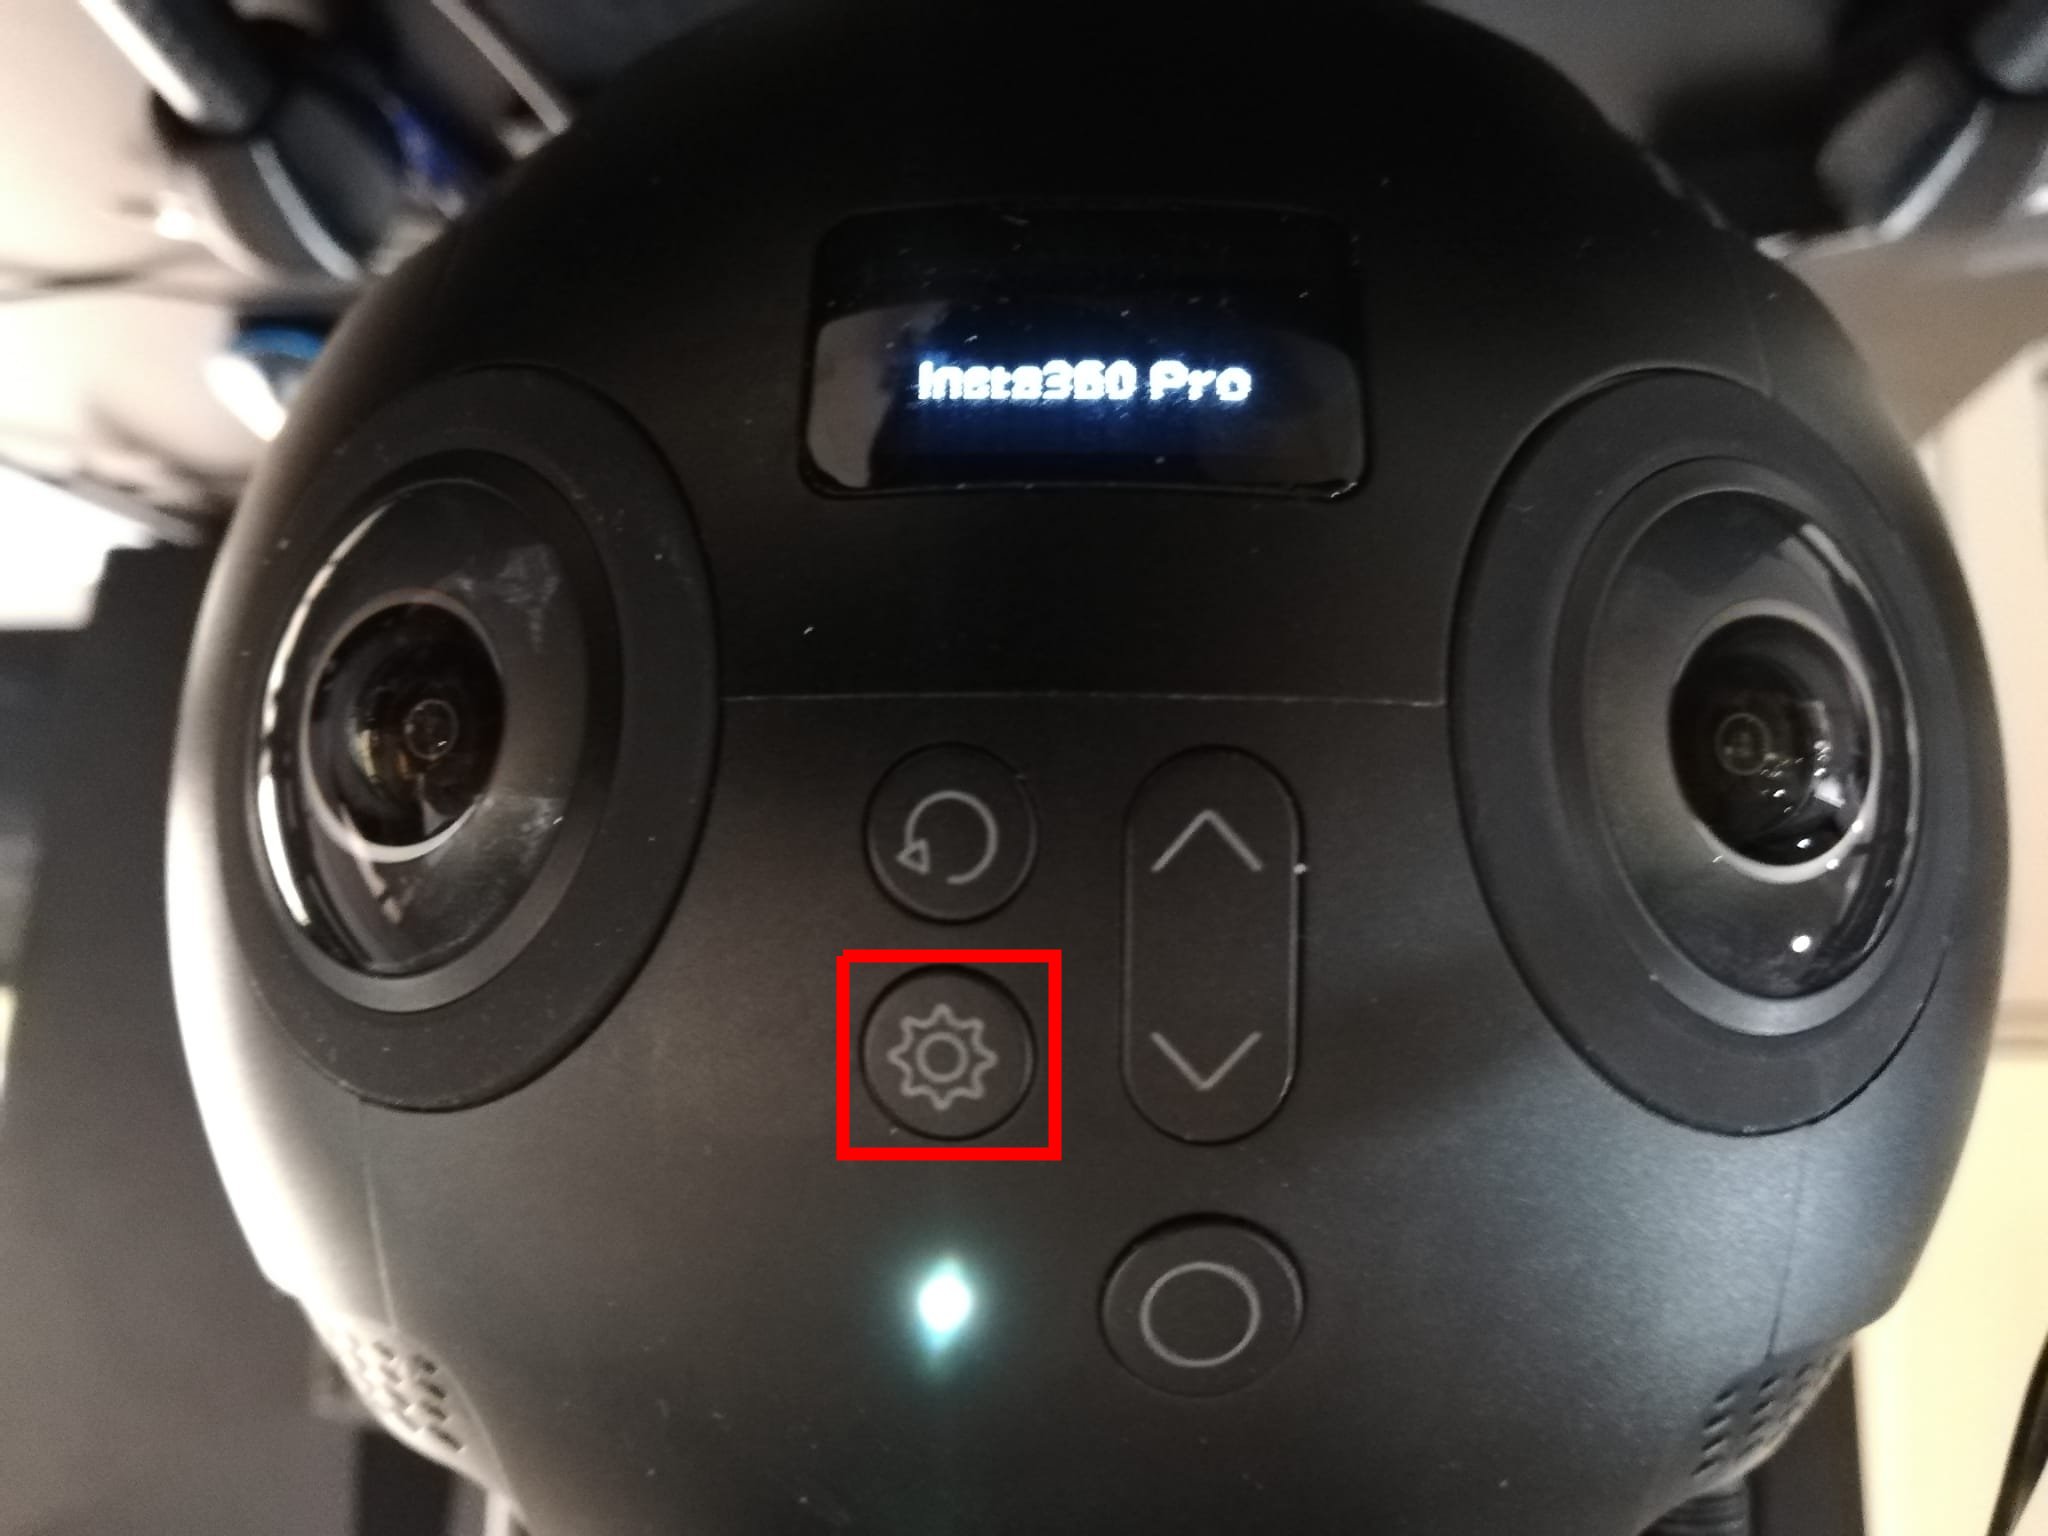
Turn on the camera by pressing the “O” button. If it doesn’t turn on, connect the camera to the power supply and try again.
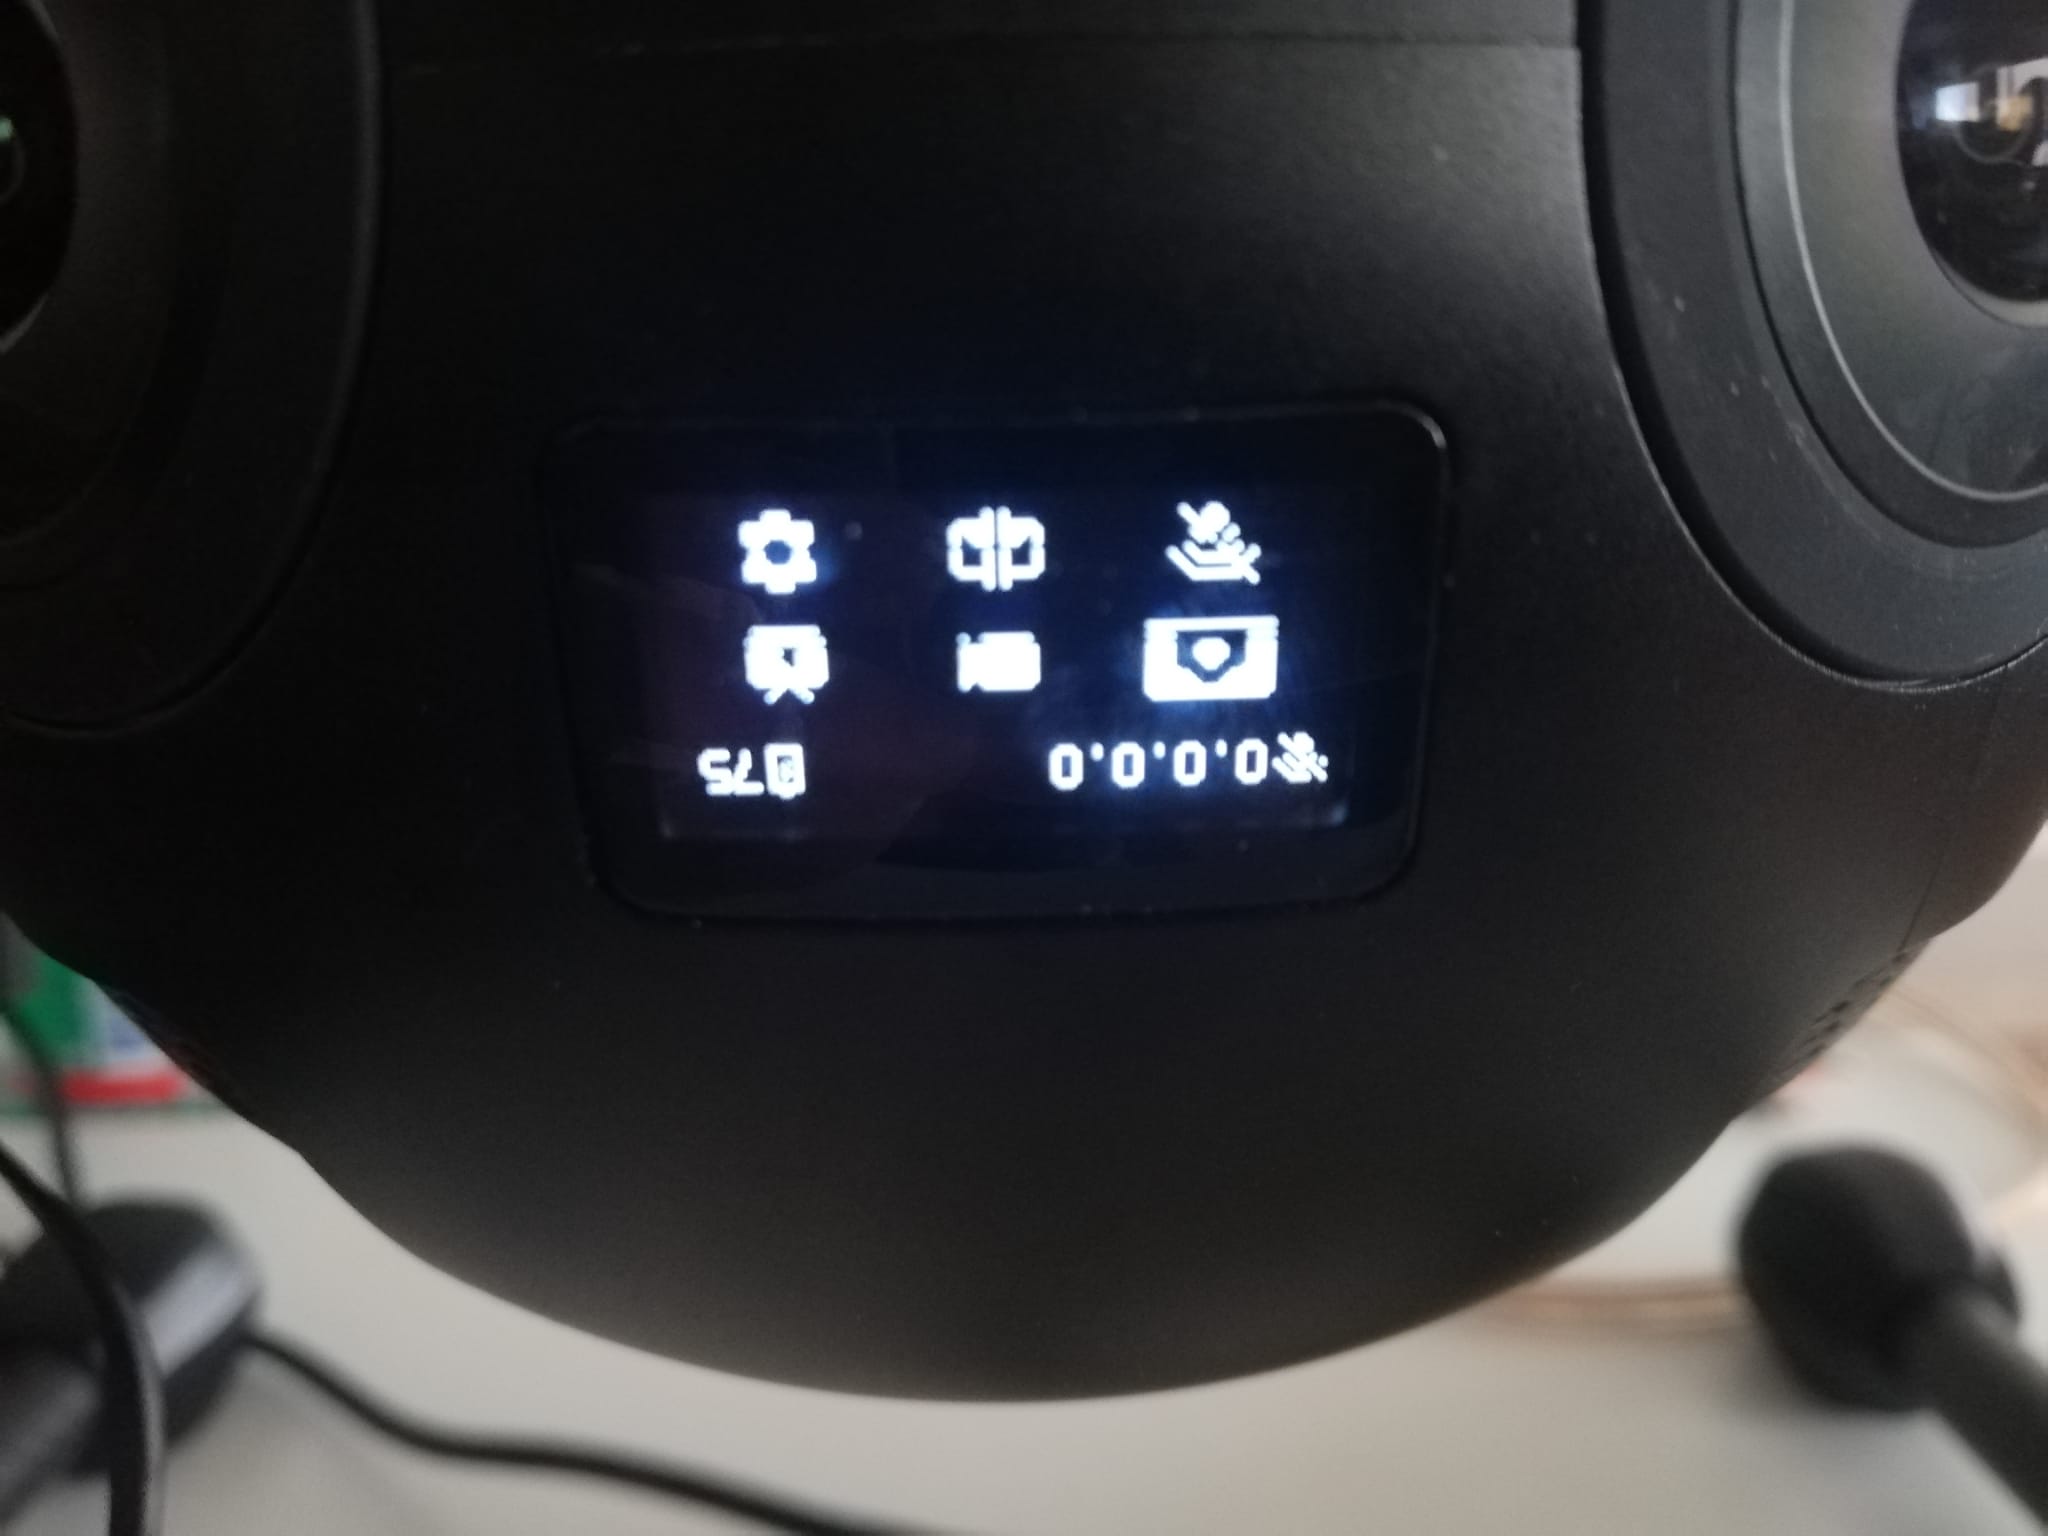
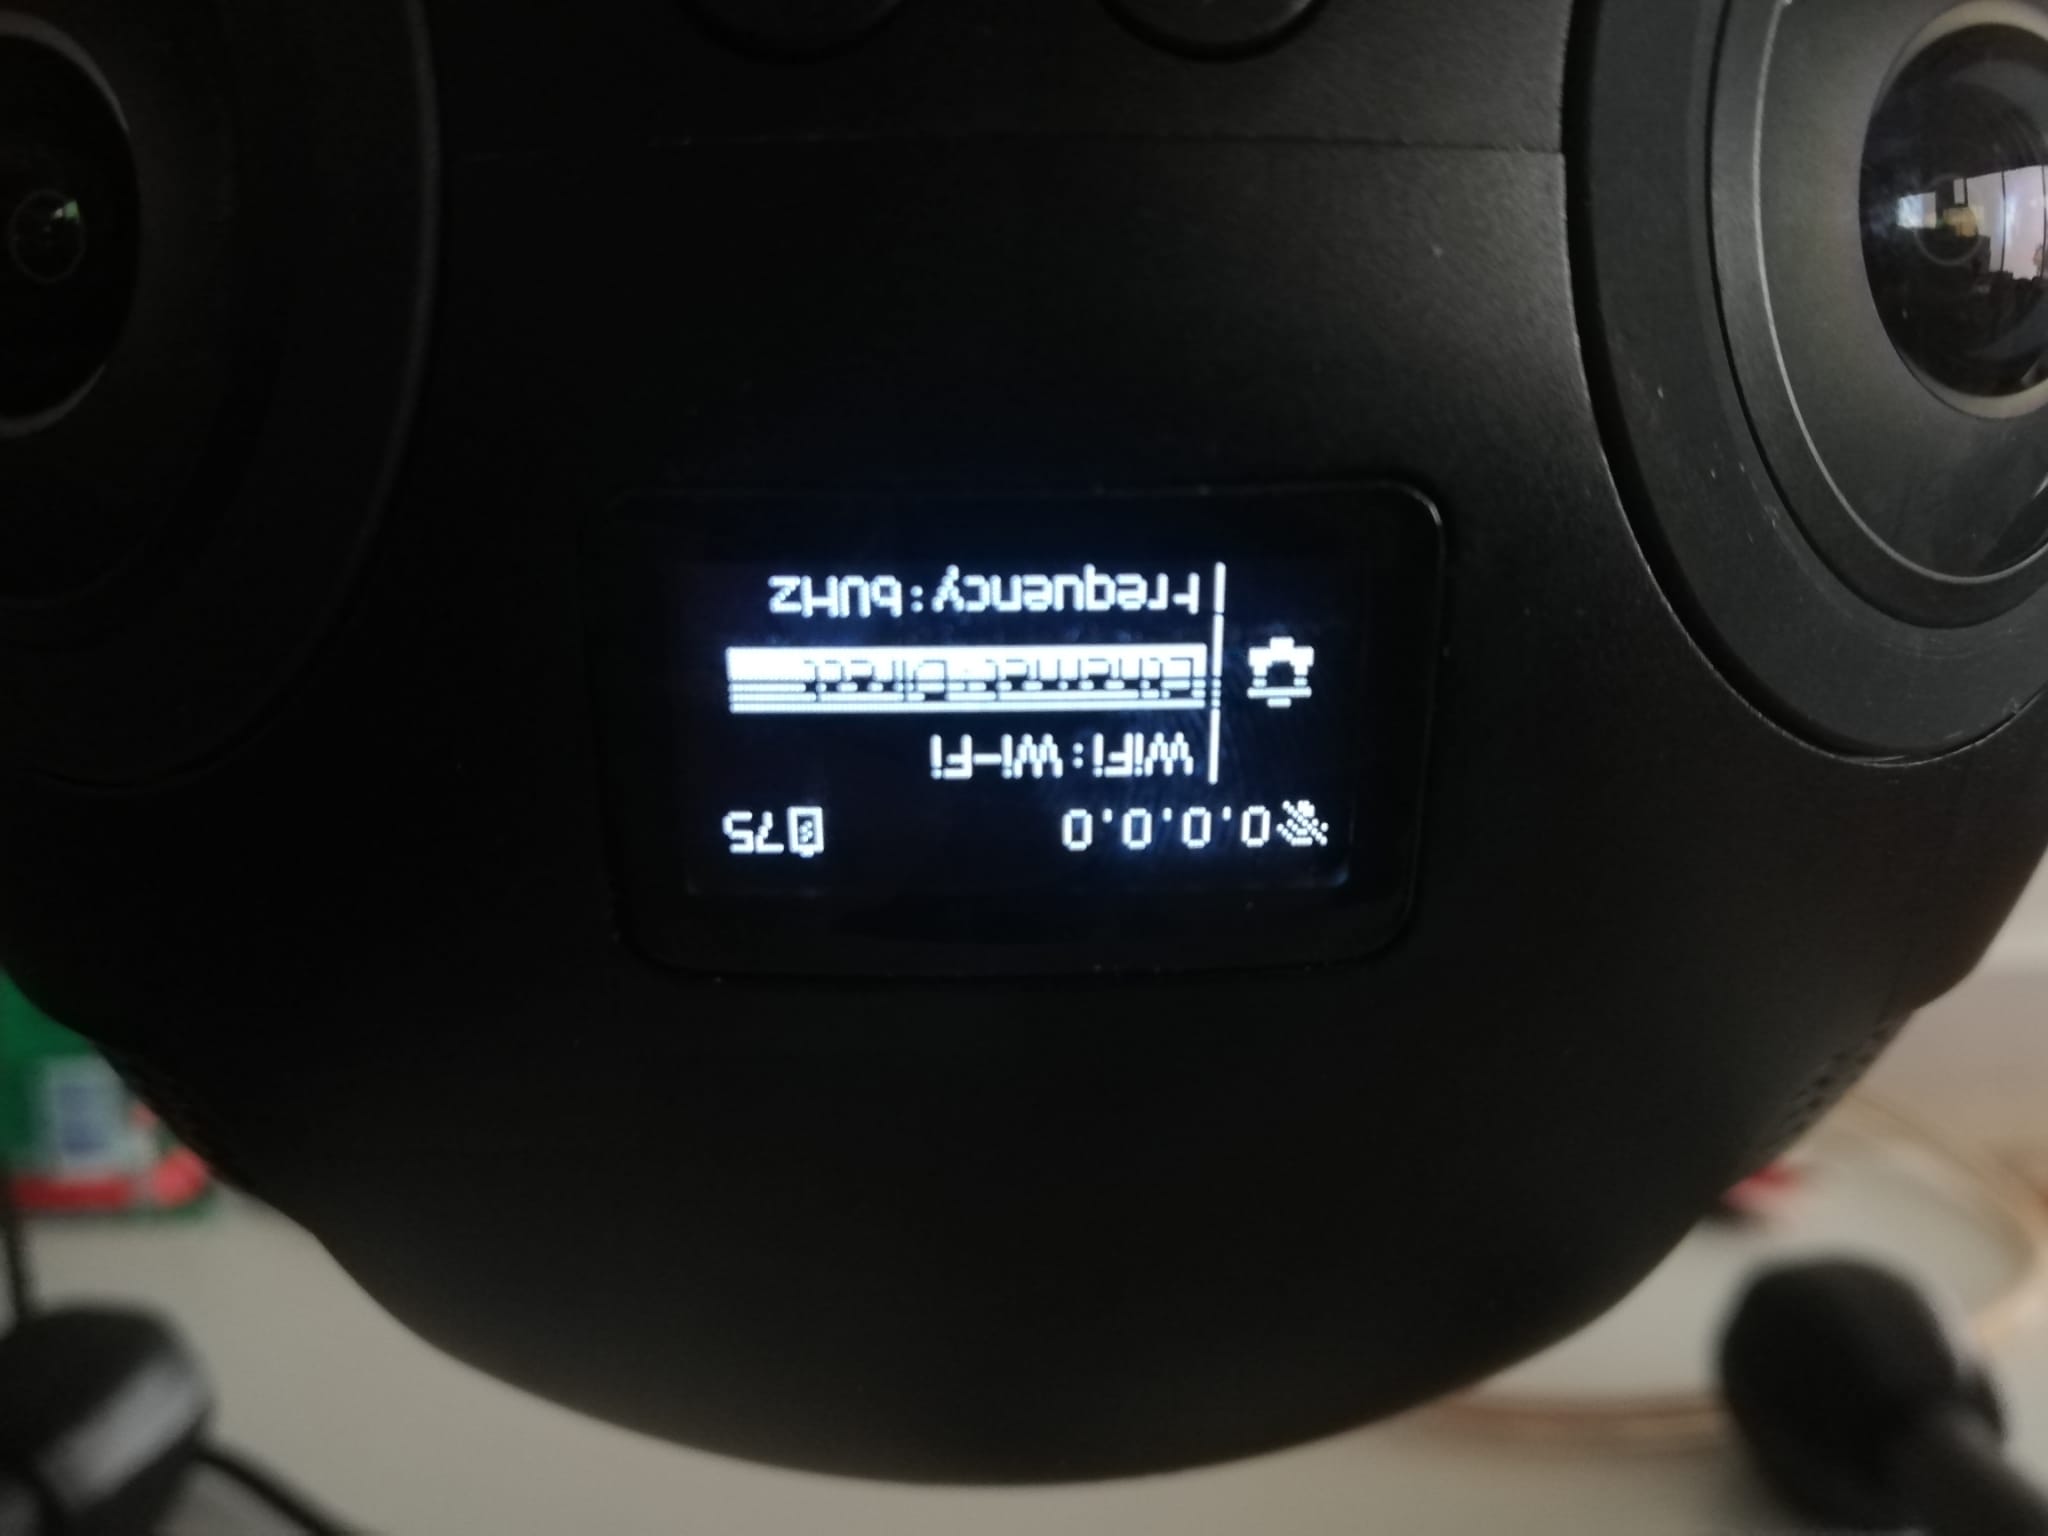
Make sure there is enough battery for a full flight. The meter on the top right corner of the screen should be at least at 75%.
Press the “gear” button to go to settings
Make sure the “Ethernet: Direct” mode is selected. If it isn’t, navigate to it using the arrow keys, and press the “O” button until the “Direct” option is shown.
Note
It may take some time for the option to appear on screen after a button press.
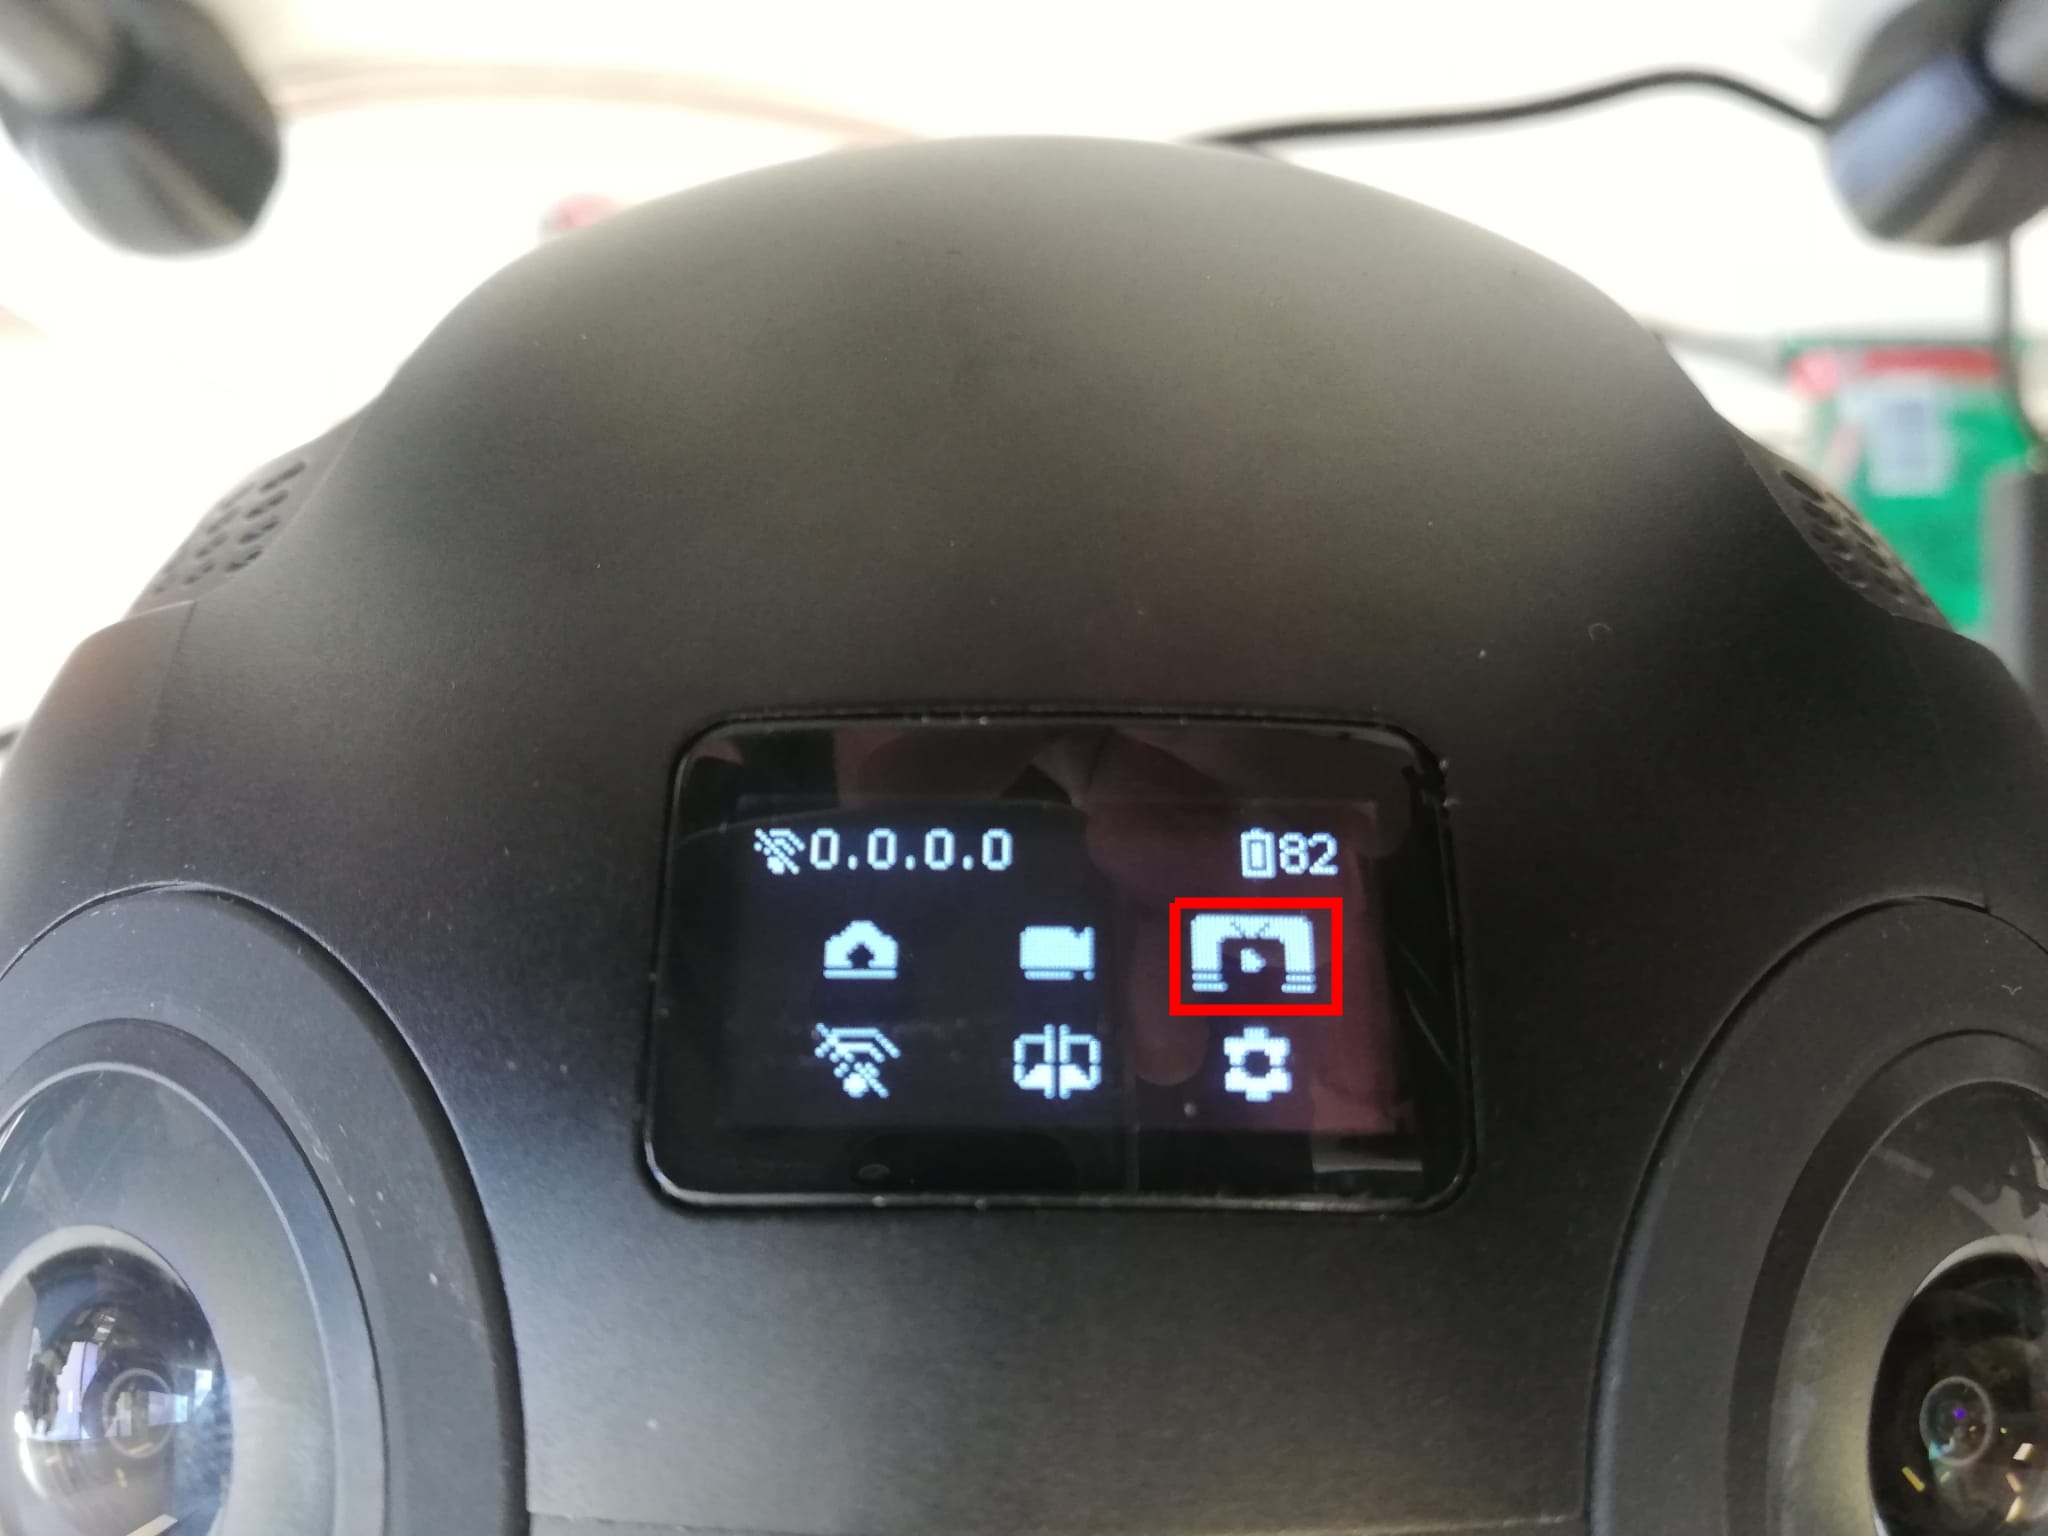
Go back to the main menu and navigate to the stream option using the arrow keys.
Make sure that the bottom left corner has the “customize” mode selected (this means that the current settings selected for the stream were provided by the mobile app using the QR code).
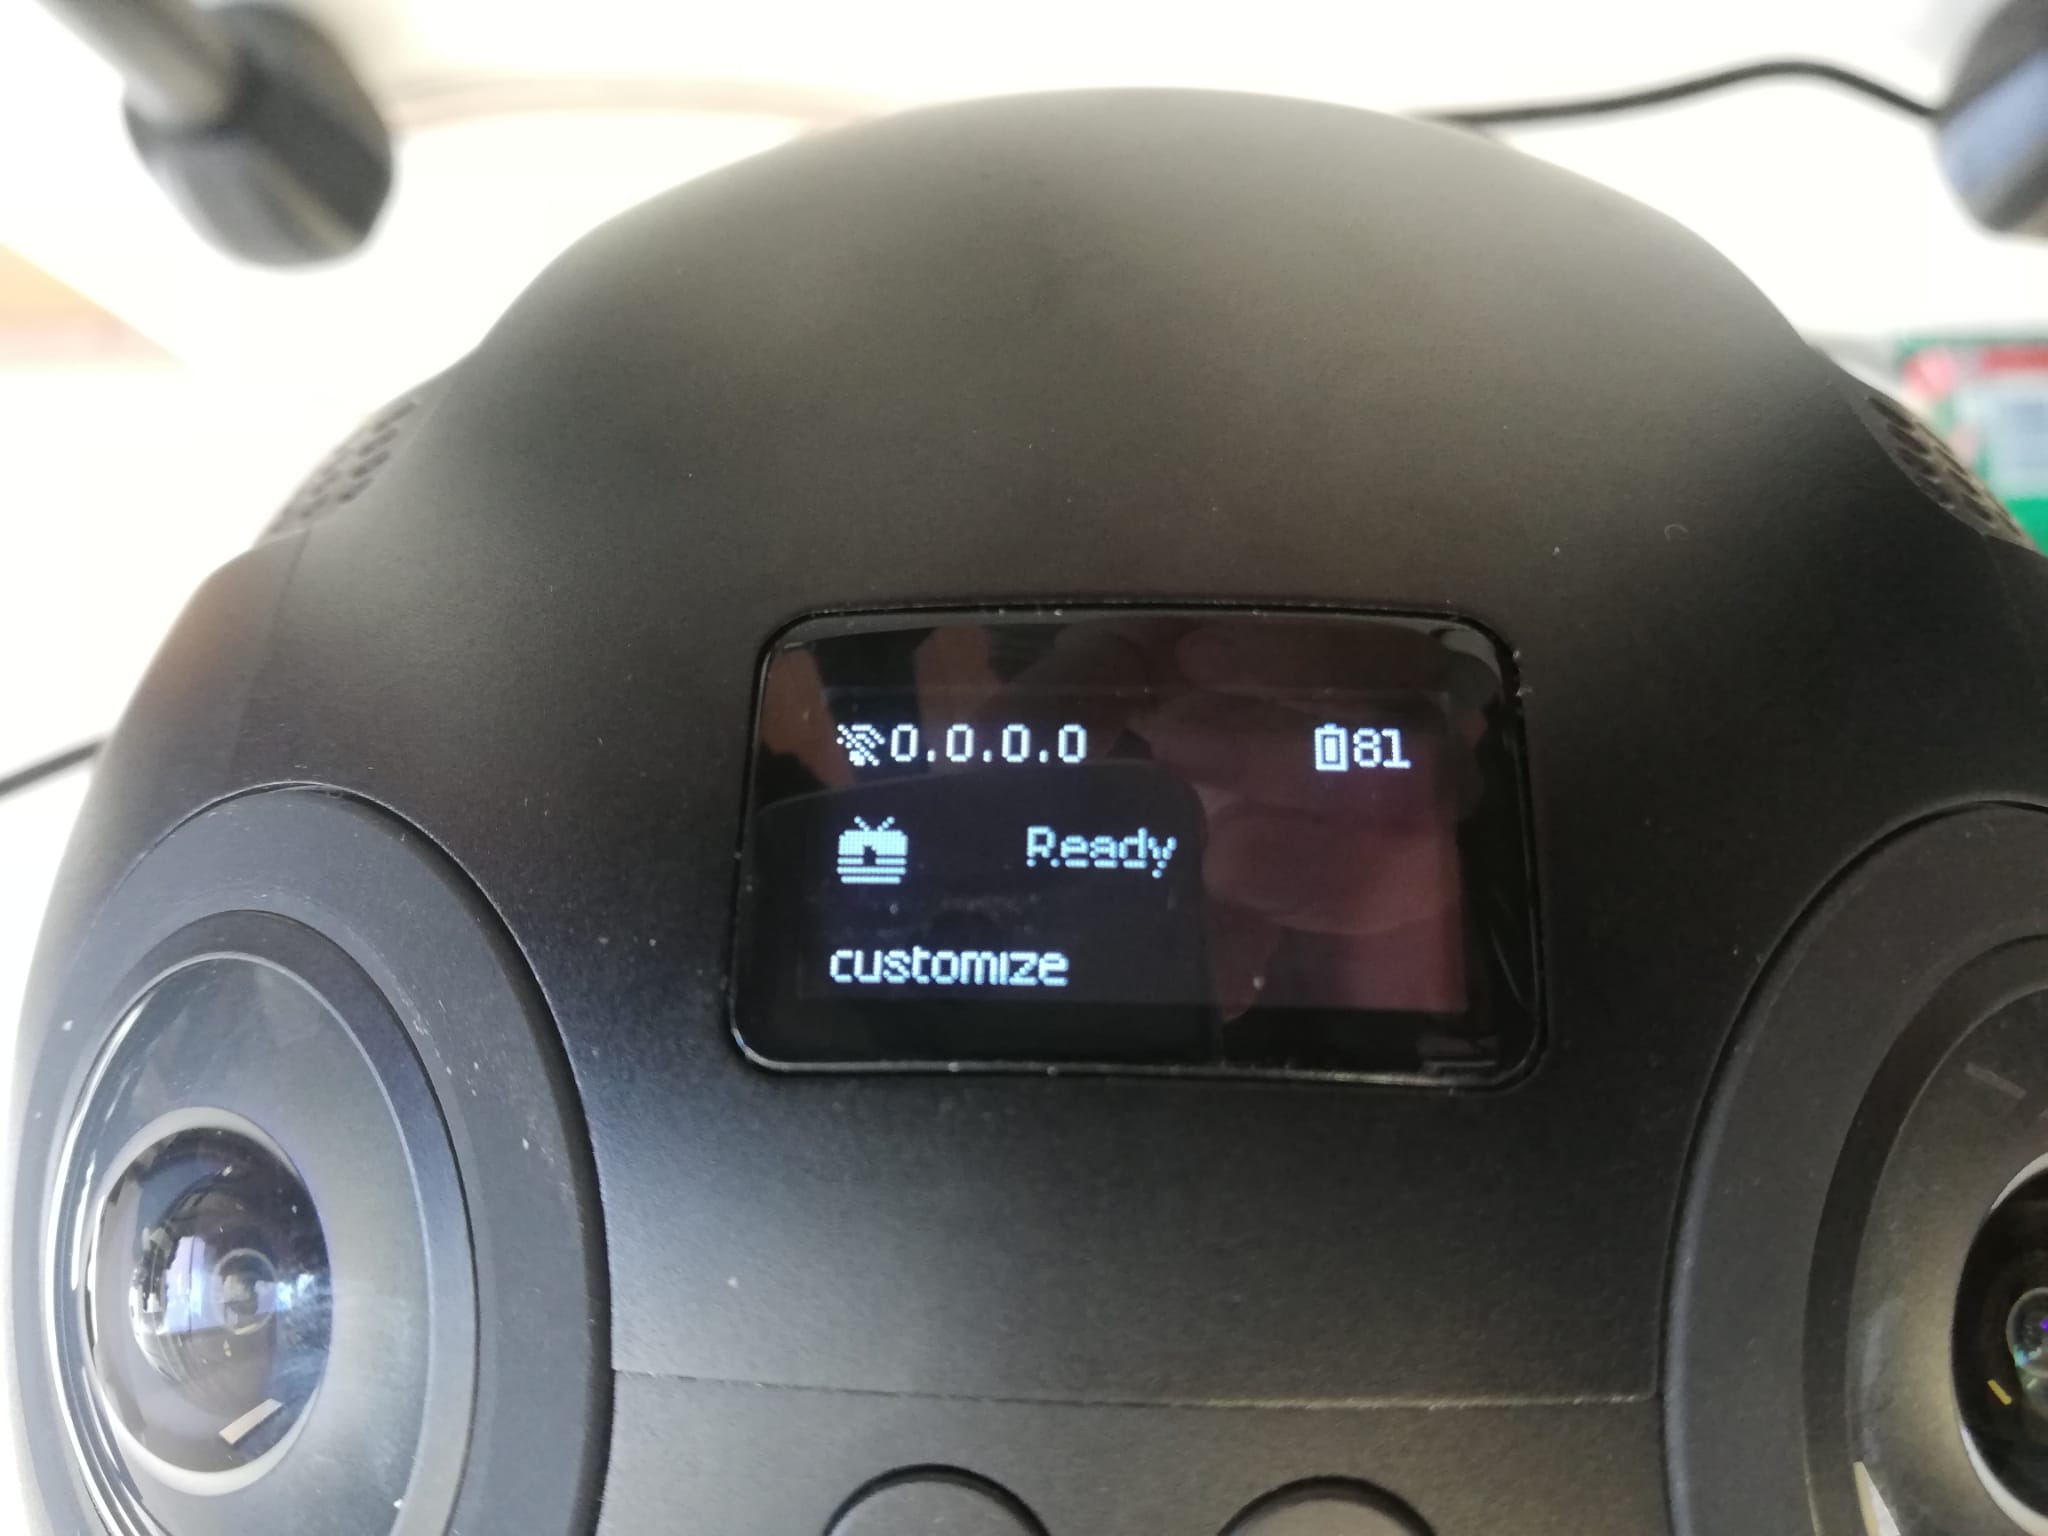
Once “ready” appears in the middle of the screen, press the “O” button to start the stream. The time elapsed since the begining of the stream will now be displayed at the center.
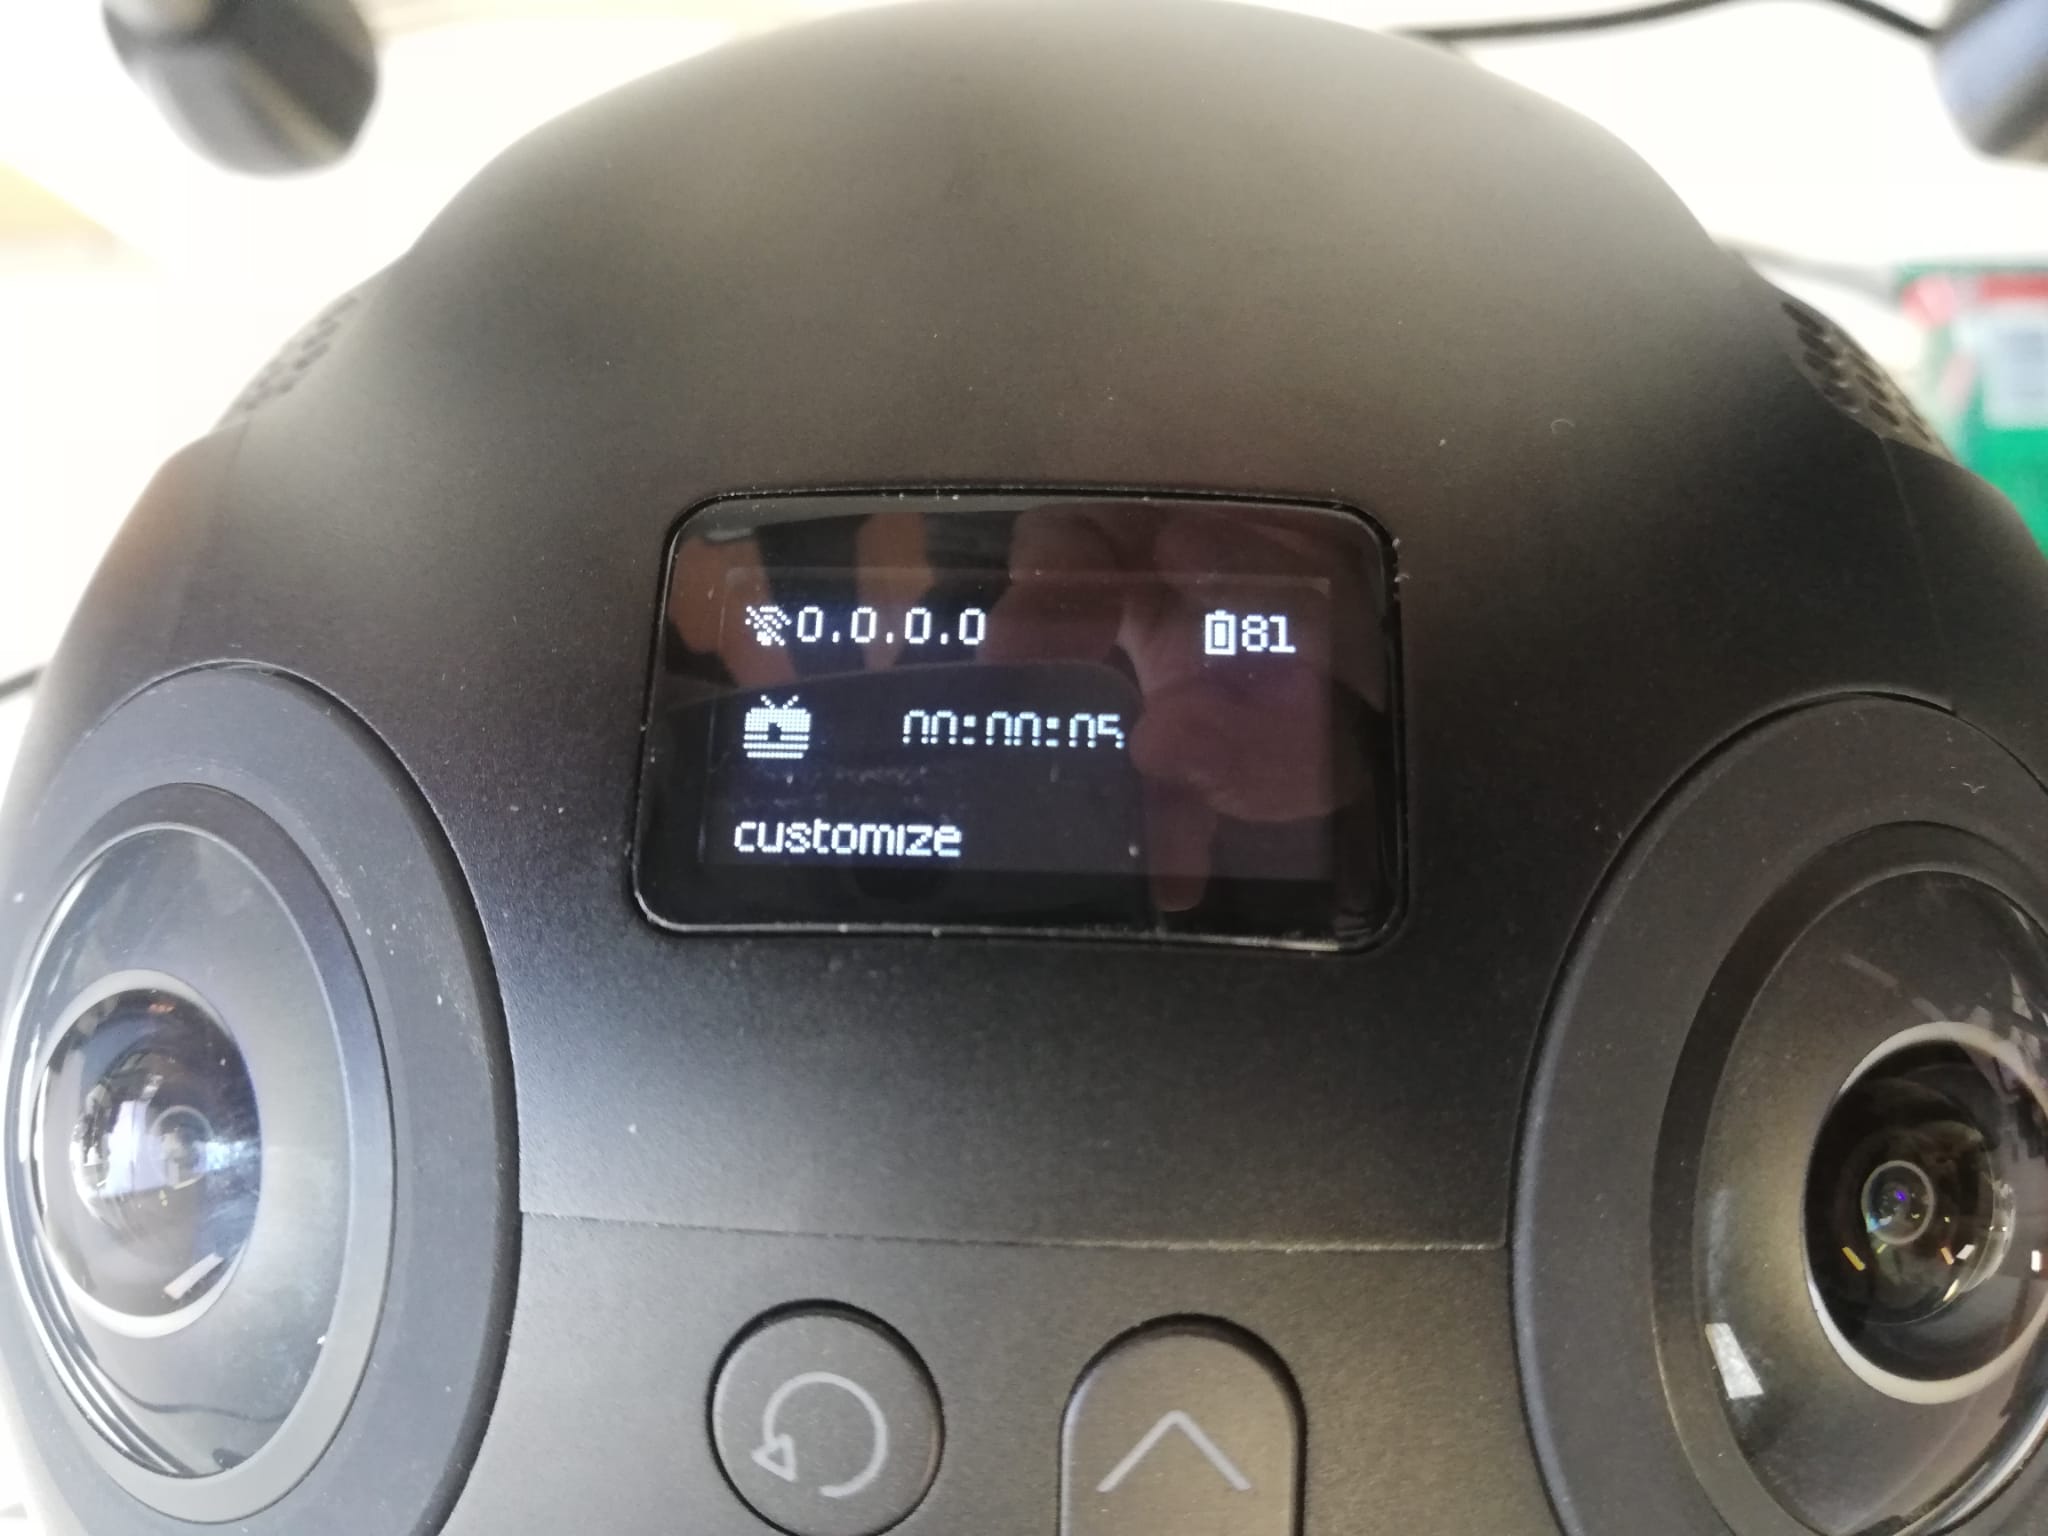
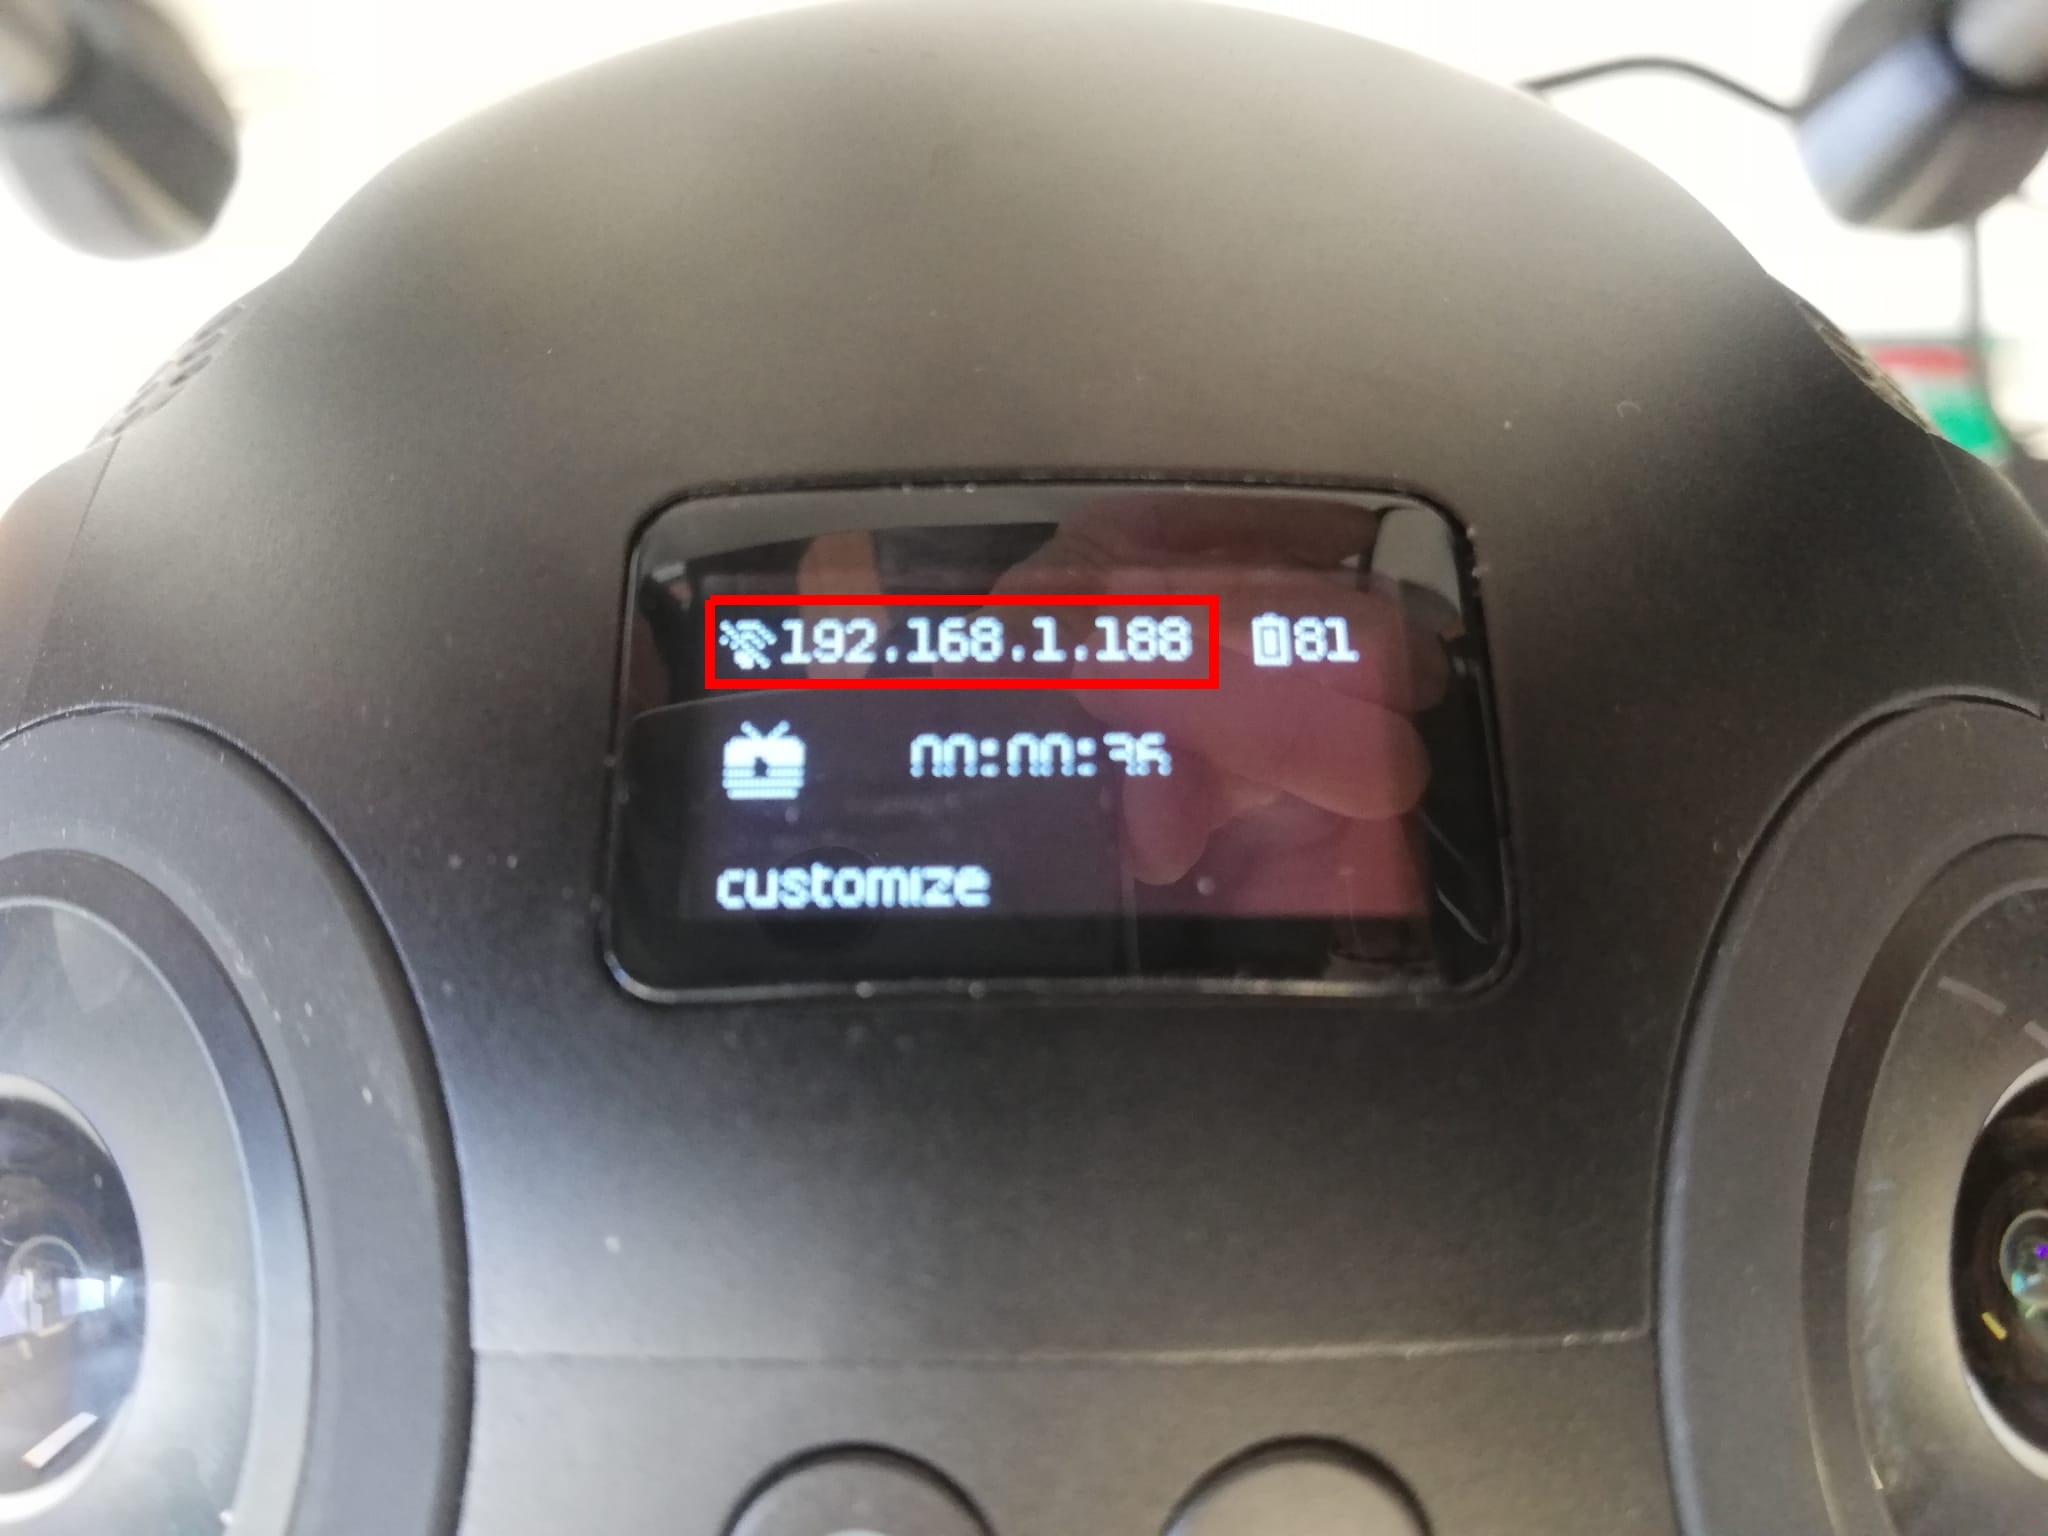
Turn on the HEIFU. After a few seconds, the IP address in the top left corner of the screen should now say “192.168.1.188”. If another IP is being shown go back to step 4. and make sure that the ethernet is in “Direct” mode.
Change stream settings
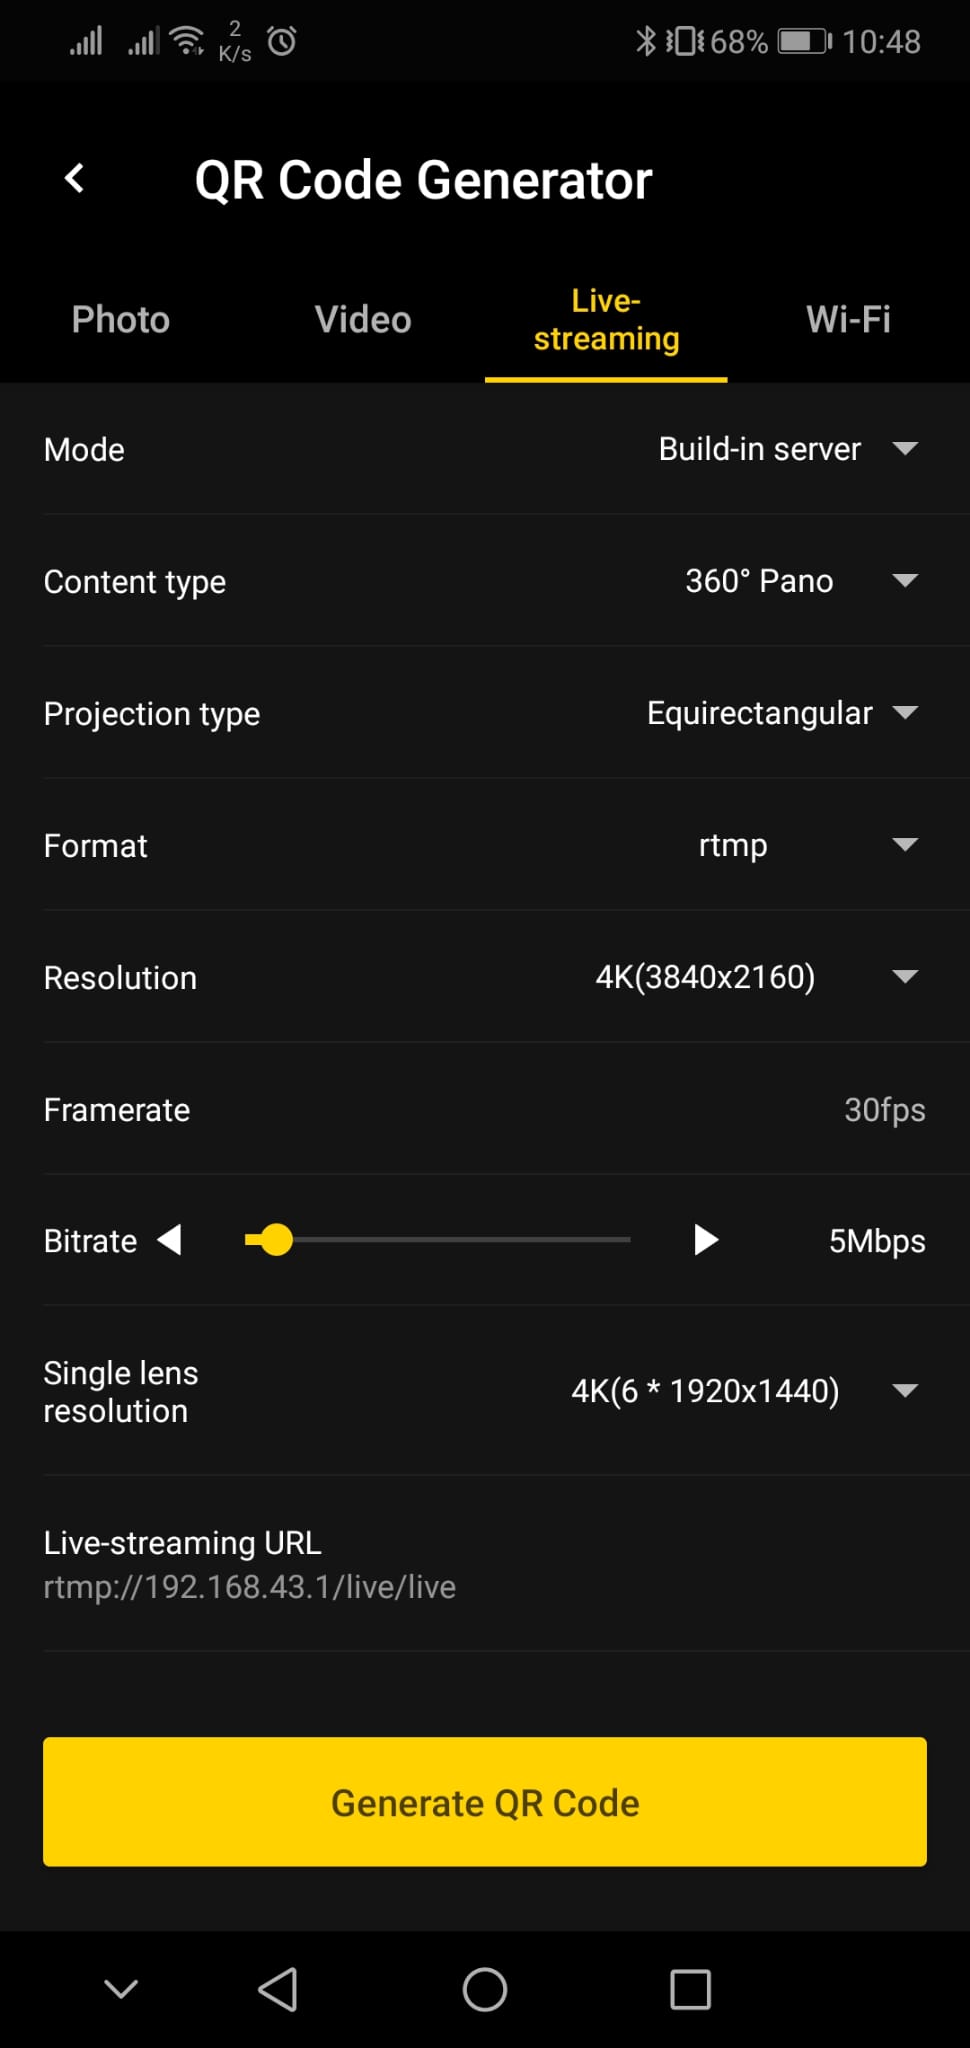
This section describes how to change the streaming settings of the camera such as the streaming format (RTMP/RTSP), the bitrate or resolution.
Firstly, the Insta360 Pro app must be installed on a mobile phone: https://play.google.com/store/apps/details?id=com.arashivision.pro&hl=pt_PT&gl=US
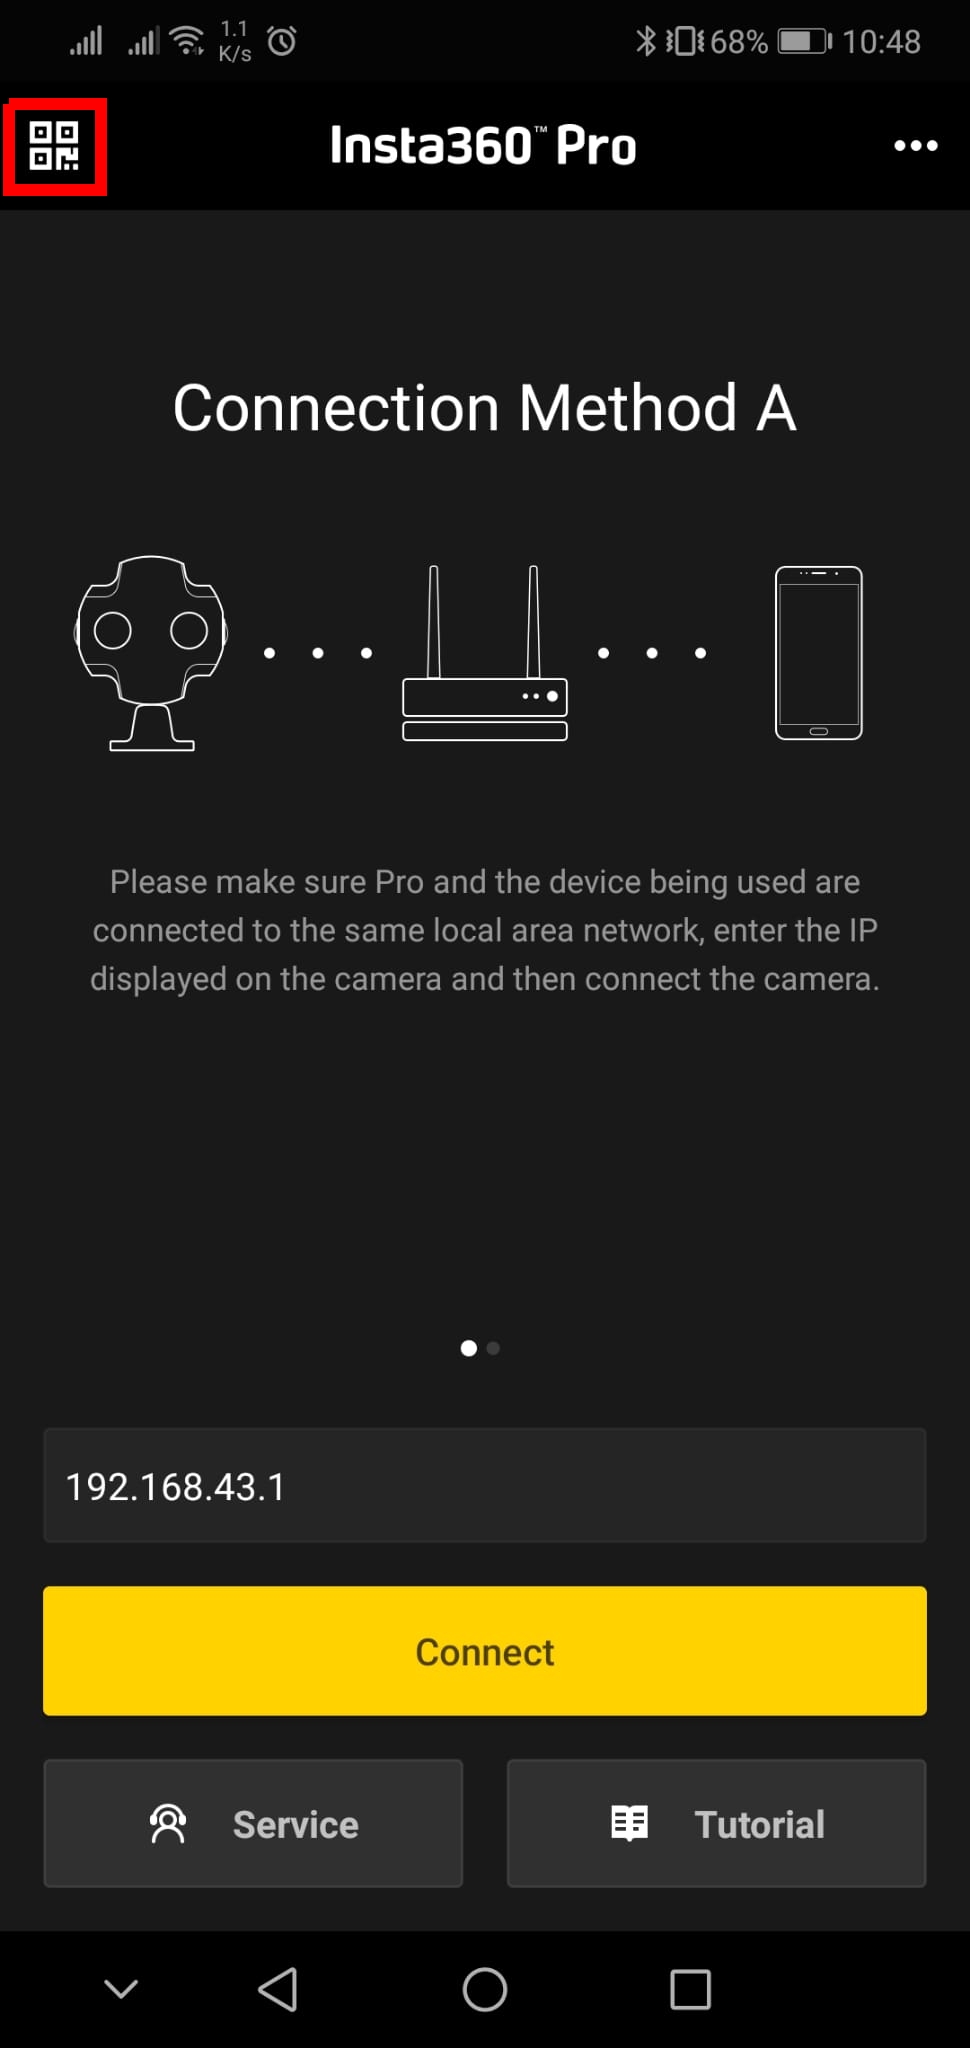
Open the app and press QR code button on the top left corner of the screen
Chose the desired settings for the next stream and in the end press the yellow “Generate QR code” button at the bottom.
On the insta360 camera go choose the streaming option on the main menu.
Press the “gear” button once and wait untill “Align QR code to scan” is shown in the center of the display.
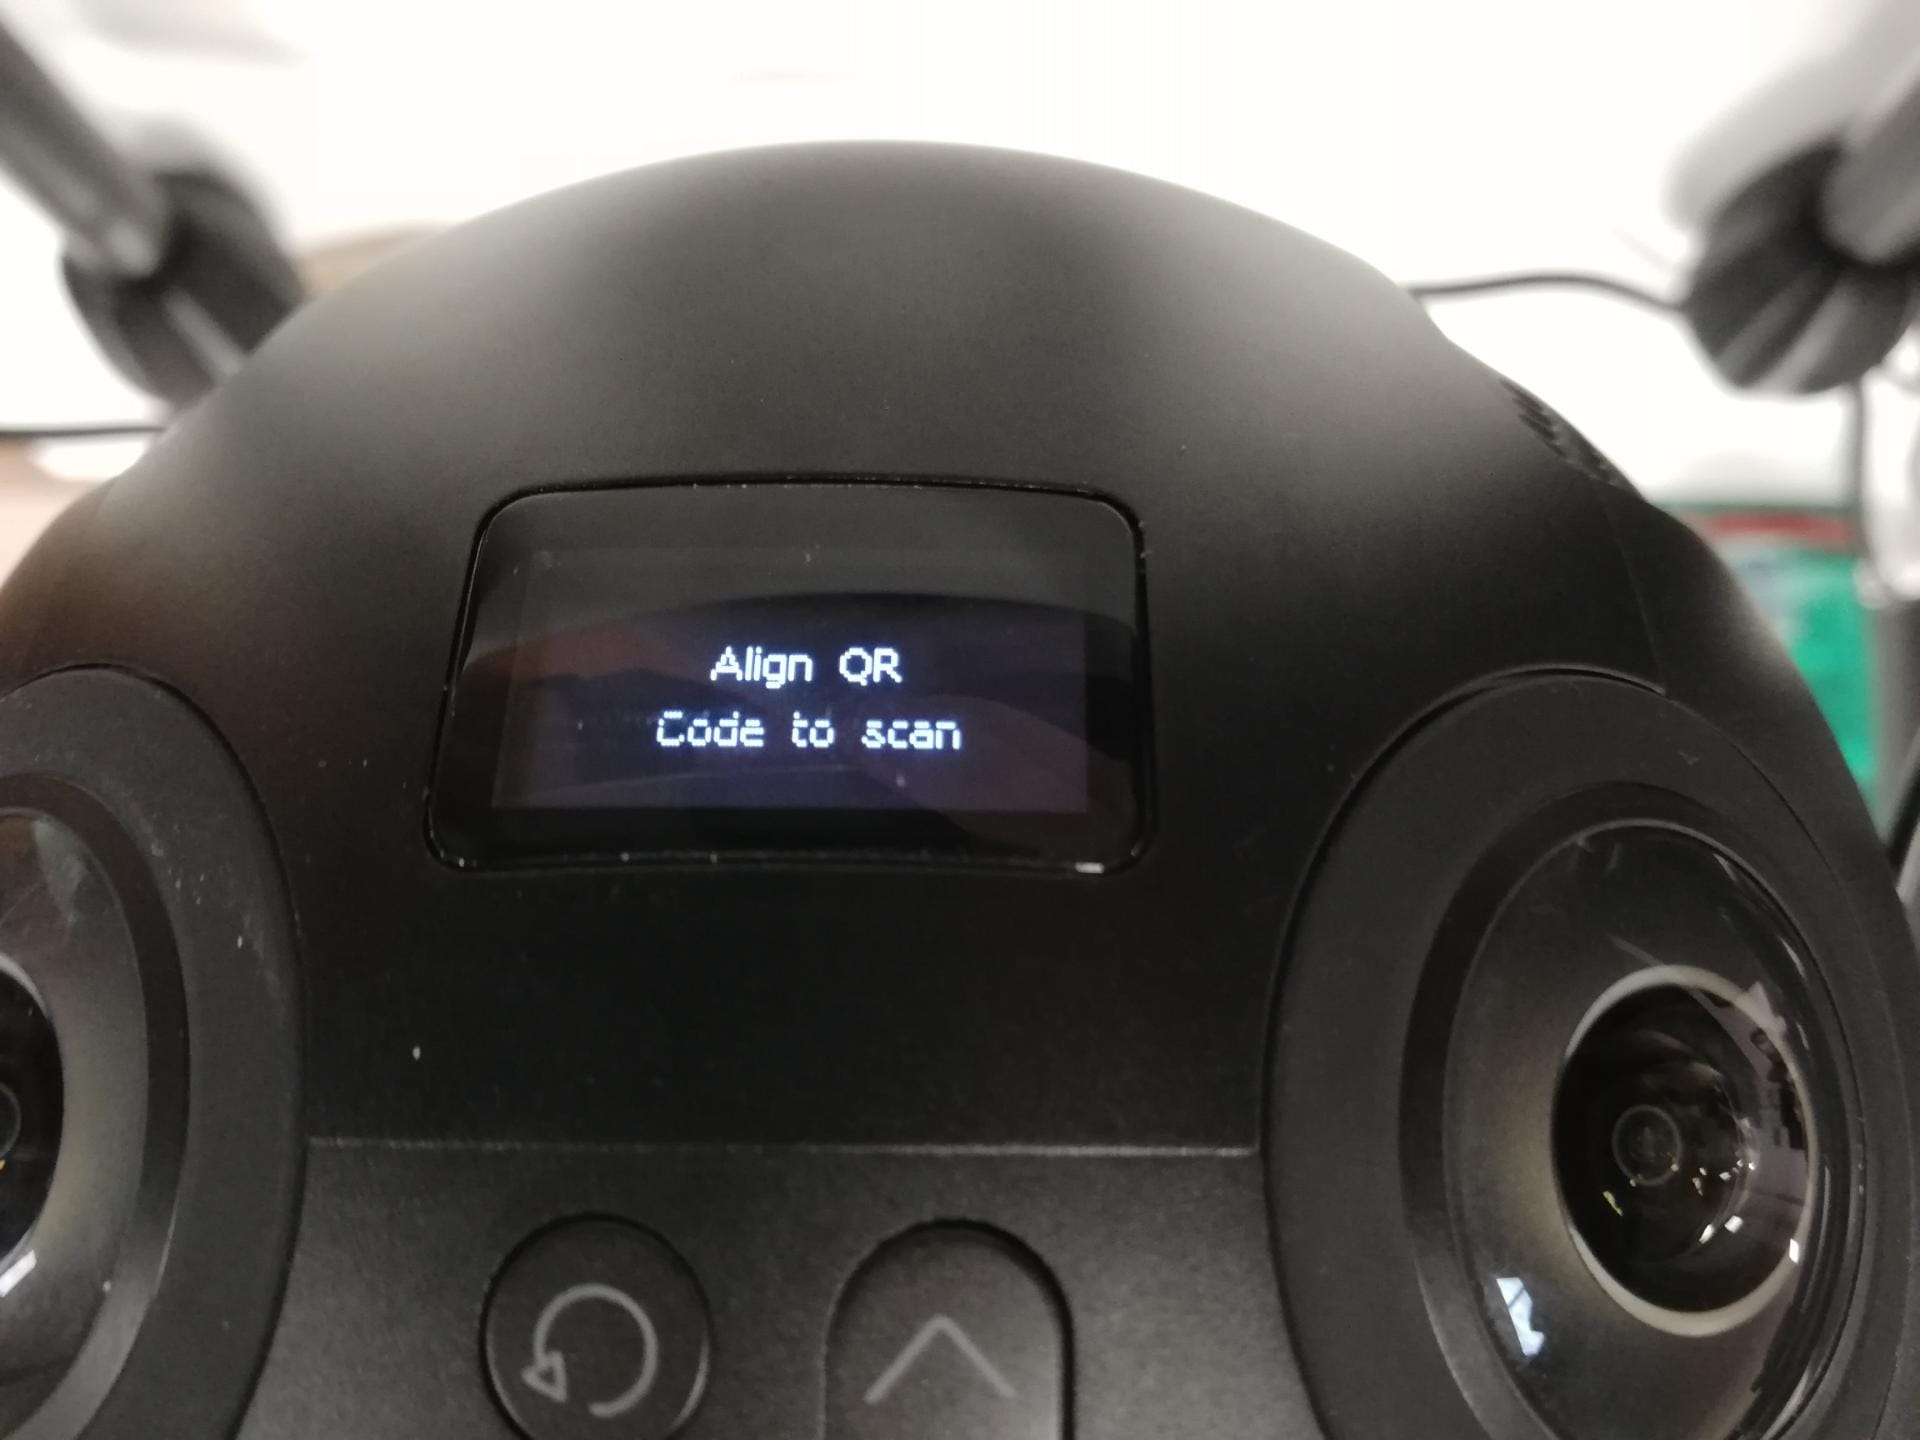
Point the QR code generated by the app to the cameras and hold the QR code still untill the insta360 camera makes a beep sound signalizing that the configurations have been received.